Tips and Techniques

June unboxing with Rachel

Hello fellow CSA members,

I had no clue when we first started our CSA journey many years ago that it would literally change the way we ate for the rest of our lives.

It catapulted us into the amazing and inspiring world of local food and agriculture. We are all the better for it, and like many of you, we know we couldn’t have done it without the support of our beloved farmers, Katia and Nathan.

It is why I was so happy that the people and the meat we have all come to know and love were not going away completely, just changing:

Double F Ranch is transitioning from monthly CSA deliveries to quarterly “Stock Up Days”.

Our household looks forward to continuing to support Katia and Nathan (we signed up for AUGUST and OCTOBER Stock Up Days) and cooking up many more great meals with their meat!

With this being our final monthly CSA share, I requested a “pork-heavy” share. With three My Choice options this month I was able to customize our share for the summer months ahead.

Let’s take a peek at my 20#/month share:

June 2024 CSA Share

  • Ground Beef (5)

  • Whole Chicken

  • Pork Loin

  • Pork Rib (2)

  • Pork Chop (2)

  • Ground Pork (1)

  • Sweet Italian Sausage (1)


Ground Beef

It is officially summer and there will definitely be burgers on the menu. I will use two packages because we love our leftovers. I will make homemade hamburger buns and homemade mayo to go with them.

For the remaining three packages I plan to make:

  • Ground beef and summer vegetable skillet. I toss in whatever veggies I need to use up from our summer vegetable CSA.

  • Mexican stuffed bell peppers

  • Asian ground beef, mushroom, broccoli slaw lettuce cup

Whole Chicken

Our last Double F Ranch CSA chicken will need to be a delicious summer meal. We will grill it and use a Peruvian style seasoning.

With our vegetable CSA I have to work hard to make the most of it each week. It is just as important for me to spend time finding great recipes for the vegetables as well as the protein. I think green rice and avocado cucumber salad will go really well with the grilled Peruvian chicken.

I will make sure that our propane grill is cleaned before cooking the chicken so as not to start a grease fire. I am definitely speaking from experience on this one.

Pork Loin

Nothing fancy for this cut. We will grill it to perfection and serve it with curried rice and toss in some fresh greens.

Pork Ribs

I love getting Double F Ranch pork ribs in the summer. I always save them for the 4th of July. I will cook these in the Instant Pot. The recipe says to finish them with sauce in the oven. However, we like to finish them on the grill. We coat them in BBQ sauce, cooking them for a little bit longer, basting them as we go for 5-10 more minutes.

I will serve them with coleslaw, honey corn muffins, and collard greens.

Pork Chop

One of our favorite weeknight summer meals is some sort of grilled meat with a salad combination of:

  • leftover roasted potatoes, rice or quinoa

  • greens

  • veggie kebabs

  • quick pickled beets or onions

  • a favorite sauce such as Karam’s garlic sauce or homemade honey mustard

We will marinate the pork chops, grill them, and use them for this summer salad staple.

Ground Pork

A Double F Ranch CSA summer favorite meal is Thai basil pork. I can easily make it on the side burner of our grill later in the summer when the heat picks up.

I get this tasty herb in our CSA every year, but I plan on growing it because I always want more of it. I see Thai basil pesto and Thai basil ice cream in my future!

Sweet Italian Sausage

I have been buying bread weekly at this new little bakery near my house. Every time I am in there I see focaccia in the display. I made it a long time ago but seeing it makes me want to bake it again. I plan to cook up the Italian sausage and crumble it on top.

Extras

We purchased 25# of ground beef to hold us over until the August Stock Up Day. We look forward to putting it to good use this summer.

Recipe Links

Mexican Stuffed Peppers

Asian Beef and Broccoli Slaw Lettuce Cups

Ground Beef and Summer Vegetable Skillet

Peruvian Style Grilled Chicken

Instant Pot Pork Ribs

Grilled Pork Tenderloin

Thai Basil Pork

Italian Sausage and Herb Focaccia


Grilled Pork Chops

Serves 4

Ingredients

  • 4 pork chops

  • ¼ cup olive oil

  • 2 ½ tablespoons soy sauce

  • 1 teaspoon steak seasoning, store bought or make-your-own (see note)


Steps

  1. Mix olive oil, soy sauce and steak seasoning together in a small bowl.

  2. Add the pork chops to a large ziploc bag or flat dish and pour the marinade ingredients over the top. Refrigerate and marinade for at least 3 hours and up to 24 hours.

  3. Heat a charcoal, propane, or pellet grill to medium and grill the chops 6-8 minutes per side (depending on how thick they are) until an instant-read thermometer registers between 145 and 155 degrees F.

  4. Remove the chops from the grill, tent them with foil, and allow them to rest for 5-7 minutes. Slice the chops across the grain and serve.

Notes

  • Steak Seasoning: here’s an easy and delicious copycat recipe for the Montreal Steak Seasoning: 2 tablespoons paprika, 2 tablespoons freshly ground black pepper, 1 tablespoon kosher/coarse salt, 1 tablespoon garlic powder, 1 tablespoon onion powder, 1 tablespoon coriander, 1 tablespoon dill, 1/2 tablespoon crushed red pepper flakes. Combine all the spices together and store in an airtight container.

May unboxing with Rachel

Hello fellow CSA members,

Another month, another opportunity to make some tasty meals! This month’s share had a lot of possibilities.

I am using it this month to get us moving towards more summer cooking. Cleaning up the grill is on this months to do list. In addition, I am using a few of the cuts to help keep my kid’s lunches enticing as we enter the final stretch before summer break.

Let’s take a peek at my 20#/month share:

May 2024 CSA Share

  • Ground Beef (5)

  • Tri-tip: My Choice

  • Asada: My Choice

  • Whole Chicken

  • Chuck Roast

  • Sweet Italian Sausage (1)

  • Pork Tenderloin (1)


Ground Beef

Recently when a protein I was preparing got ruined (I wasn’t paying attention), I was able to just take some ground beef out of the freezer, use warm water to thaw off the wrapping, and pop it in the pan to make crispy chickpeas and beef. I already had the rice and veggies! Dinner still got on the table! I love having this cut in the freezer!

I chose some versatile dishes this month to use my ground beef. I can easily add in cans of black beans or lentils to bulk it up. I can also make some of these ahead of time, so I just have to pull everything out of the fridge when I get home. I plan to make the following dishes:

  • Beef and quinoa enchilada skillet x1

  • Bibimbap bowl x1

  • Spiced ground beef skewers x2

  • Mini taco hand pies for my kids’ lunches x1

Tri-tip

This was one of our My Choice selections this month. I really love this cut….a lot! I really enjoy the texture and flavor. I find that it is fairly easy to prep and cook. I also rarely overcook it, which is a huge win for me. I plan to grill it and serve it with baked potatoes and some of the first sugar snap peas of the season.

Asada

My son has started adding more spice to his food in an attempt to increase his heat tolerance. This would make my life a lot easier as I often times need to leave out certain ingredients or make substitutions to make a dish not as spicy.

I am going to make carne asada tacos with some added heat that I hope we will all enjoy.

Whole Chicken

I will cook the whole chicken in the instant pot and then shred the meat when it is cool. I want to use it for an easy dinner and lunch. I will make chicken nachos with the bulk of the meat.

For the remaining amount I will use it to make chicken and kimchi wraps. This wrap is about as easy as they come and requires little brain power. One of the reasons why I love tossing food into a wrap!

If I am in a pinch, I can also use some of the remaining chicken instead for chicken quesadillas for kid lunches.

Chuck Roast

As summer approaches I try and cook some larger cuts and freeze them for quick dinners on the really hot summer days.

I have decided to take this chuck roast and put it in the slow cooker to make a Cuban shredded beef. Once it has cooled, I will parcel it out into two freezer bags and freeze. It can go on a salad, a bowl, quesadilla, or wrap.

Sweet Italian Sausage

I will use this cut for weeknight spaghetti. I put it in the pan, cook and crumble the meat and add in a jar of sauce. I often times get a tub of spinach and toss some in as well. Super handy for a low-effort and quick dinner.

Pork Tenderloin

I will use this cut to make kebabs. I will make sure to prep ahead of time so it can sit in the marinade. I prefer to use stainless-steel skewers over bamboo.

Extras

I bought some extras to help out with kid’s lunches and our upcoming camping trips. I like getting the pepper sausage as my kids love it on sandwiches.

I purchased more hot dogs for camping. I got Polish sausage so we can make campfire foil packets for one of our camp meals. The sausages and ground meats really come in handy when camping.


Hawaiian Pork Kebabs

Serves 8

Ingredients

  • 2 pounds pork loin

  • 1 cup crushed pineapple with juice (Do not use fresh pineapple)

  • ½ cup soy sauce

  • ½ cup honey

  • ¼ cup vegetable oil

  • ¼ cup chili sauce

  • 3 tablespoons apple cider vinegar

  • 2 tablespoons minced garlic

  • 1 teaspoon crushed red pepper flakes

  • 1 teaspoon ground ginger

  • ½ teaspoon black pepper

  • 1 large white onion

  • 1 red bell pepper

  • 1 yellow bell pepper


Steps

  1. Cut pork loin into even sized cubes, about 1 - ½ inch sized.

  2. In a medium sized bowl, whisk together pineapple with juice, soy sauce, honey, oil, chili sauce, vinegar, garlic and seasonings. Stir until well blended.

  3. Pour over the pork chunks, seal, and refrigerate for 1 hour - overnight.

  4. Peel and chop the onion into 1 inch sized pieces. Seed and trim the bell peppers and cut into similar sized pieces.

  5. Carefully skewer the marinated pork with the vegetables onto metal or bamboo skewers. Alternate pepper, pork, onion and repeat until you have used all.

  6. On a grill heated to about 400 degrees, grill the skewers on 3-4 minutes on each side. Rotate until all sides are cooked evenly and the pork is done and no longer pink. Do not overcook.

July I ATE and it was GREAT

Let us take a moment to reflect on all the amazing and delicious meals members prepared with their shares last month!


Asian pork lettuce wraps from Katia


I ATE and it was GREAT - recipe inspiration from the members


Alex cooked up some pulled pork.

Leslie made hamburgers.

Helen was away in England for most of the month and is looking forward to getting back in the kitchen.

Linda said, “I threw together a stir fry with hamburger, tofu, onions and broccoli. Inadvertently used the Worcestershire sauce I was making as a marinade! but it it was great.”

Jaleh made “a simple grilled steak with friends from out of town with big salad from our garden and grilled peaches for dessert. Finally felt like summer!”

Corrie loves steak tacos “So good!”.

Rachel made “Simple grilled lamb chops and steak! Just salt and pepper was all it took...”

Cody made carnitas with a pork shoulder roast.

Amelia threw together “simple steaks on the grill with grilled asparagus and roasted beets. I love getting to use our grill in the summer.”

Taylor savored “pork chops that weren’t dry!”

Kari cooked up some jerk chicken.

Vikki made campfire grilled lamb chops with rosemary garlic butter.

Summer enjoyed some New York steaks with blue Maui salt and crispy potatoes.

Glenn appreciated a quick pasta salad with chicken and garden veggies.

Jerry savored a perfectly grilled chicken.

CJ whipped up a chicken and white bean Mexican soup - “So easy, so good!”

Sara made lamb shanks with mustard and mint.

Jen crafted some Cuban-style mojo pork from a pork shoulder roast.

Kelly served up a carnitas burrito bowl.

Rachel made Chinese BBQ lettuce wraps.

Dzmitry crafted a quick stirfry with shaved frozen steak.

Kyle made marinated chicken tacos.

Molly prepped a beef chuck roast turned carnitas for tacos!

Ashley made a memorable roast chicken.

Katie made pulled pork in the instapot! It was so flavorful and yummy and perfect to pack for a quick easy dinner camping. “I use a dry rub on the roast and then a 1/4 cup apple cider vinegar and 3/4 cup of water in the insta and it is just magical over a large bed of cabbage slaw!”

Jessica served up beef asada strips for tacos, marinated in a spicy orange mix!

David was all about the burgers, burgers, burgers!

Marielle cooked up a whole roast chicken on the grill.

Emily made hot dogs with homemade sourdough buns and homemade date sweetened ketchup.

Jamie savored a Japanese style beef stew with kale, carrots, onions, celery, Japanese sweet potatoes, white wine, and mirin.

Lauren made burgers that hit the spot!

Bronwen served up spaghetti with pork meatballs.

Jerrett made carne asada tacos.

Tyler enjoyed some smoked pulled pork sandwiches w/ Carolina BBQ sauce & cabbage slaw

Elena made a whole slow cooker chicken.

Liz served up some nachos with pulled pork - “a staple around here!”

Toni prepared salted New York steak with sugared strawberries. Also, egg cups with country sausage & cheese :)

And Kate made the all-time summer favorite - burgers!


How this slam-dunk recipe taught me willpower, patience and trust

I was reflecting the other day on how growing in skill and confidence in the kitchen is a bit like bungee jumping.

If you are going to have a new experience, you have to actually jump to see if it will turn out how you expected.

But all to often I find myself giving certain recipes a pass by telling myself, “what if it doesn’t work out?”

Taking the plunge

So I’d heard of this particular recipe for a few years now but was hesitant to give it a try for a variety of reasons:

  • This recipe seemed TOO deceptively simple.

  • I was skeptical that it would ever turn out.

  • It had this "too good to be true" vibe to it.

In fact, I was so unsure of myself I actually made a back up dinner (enchiladas) just in case it was a total flop.

So, the timer went off and I pulled it out of the oven. It didn't look like much honestly. I tented it with foil, let it rest and went about making my side dishes.

After a rest, I set it on the cutting board and as I started to slice I literally said under my breath, "please be good, please be good".

And I carved off beautiful slice after beautiful slice of perfectly rosy, juicy roast beef. The meat was melt-in-your-mouth tender.

Now I've made loads of pot roasts in my life where the meat slow-braises in liquid until shreddy and fork-tender. But there's no way in heck to slice something like that. It just makes a mess of all these tiny muscle fibers.

I wanted to make roast beef. The kind that makes all these pretty, even slices like on fancy food blogs. The kind I could thin slice to make roast beef for lunch meat or french dip sandwiches.

So how did I do it?

I started with a Beef Eye of Round roast - a cut that is very lean and flavorful but is not known for being tender (this muscle on the hip sees a ton of work). I let the roast sit out for an hour to come to room temperature.

I did a little trimming to take off some extra fat then placed the roast on a foil-lined, metal roasting pan and liberally seasoned it with salt and pepper. Then put the roast straight into a preheated (and screaming hot) 500-degree oven.

Yep, 500 degrees.

Just thinking about a temperature that high for grass-finished beef where the dogma is "low and slow" made me cringe!

Once the roast was in the oven, I reduced the temperature to 475 degrees and cooked for 7 minutes per pound. My roast was 5.85# so I set my timer for 41 minutes.

(Oh I turned on my oven fan to vent too!)

After 41 minutes, I turned the oven off but did not open the oven door. Then I reset the timer for 2.5 hours.

Talk about willpower - absolutely no peeking is allowed with this recipe!

I even put a post-it note on the door saying not to open before 5 pm to keep nosy Nathan from poking around.

After a 20 minute rest covered with foil, when I started carving, the slices were perfect. Rosy pink in the center but not slimy and raw and unlike prime rib, no weird fat globs.

I'm so excited about this recipe and I've added it to my ever-expanding list of "things I want to cook for a dinner party, you know, whenever that happens again..."

However, there is one HUGE caveat. This recipe does not work reliably in gas ovens - they cool off and vent the heat away too fast. If you want to try this recipe with a gas oven, instead of turning the oven off, set the temp to 150-170 degrees. Trust me. There's thousands of reviews for this simple recipe across the internet and all the 1-star reviews are from people with gas ovens.

If you’d like to give this rule-breaker roast beef a try, you can download the printable recipe by clicking HERE. It really is that easy :)

Dry, dense whole wheat loaves? CSA member David shares his superpower bread baking tips

Ahh! Homemade bread. That first bite of a warm crusty loaf on a blustery day… And that subtle sweetness and nuttiness that whole wheat flour adds to the loaf… Mmm my mouth is watering just thinking about it.

Yet all too often the home bread maker eagerly slices into a whole wheat loaf only to find it overly dense and dry. Crumbly sawdust is not exactly the texture we were looking for here.

“I like a good hearty loaf of bread or a good hearty baked good, but I don’t want it to be a brick.”
— David

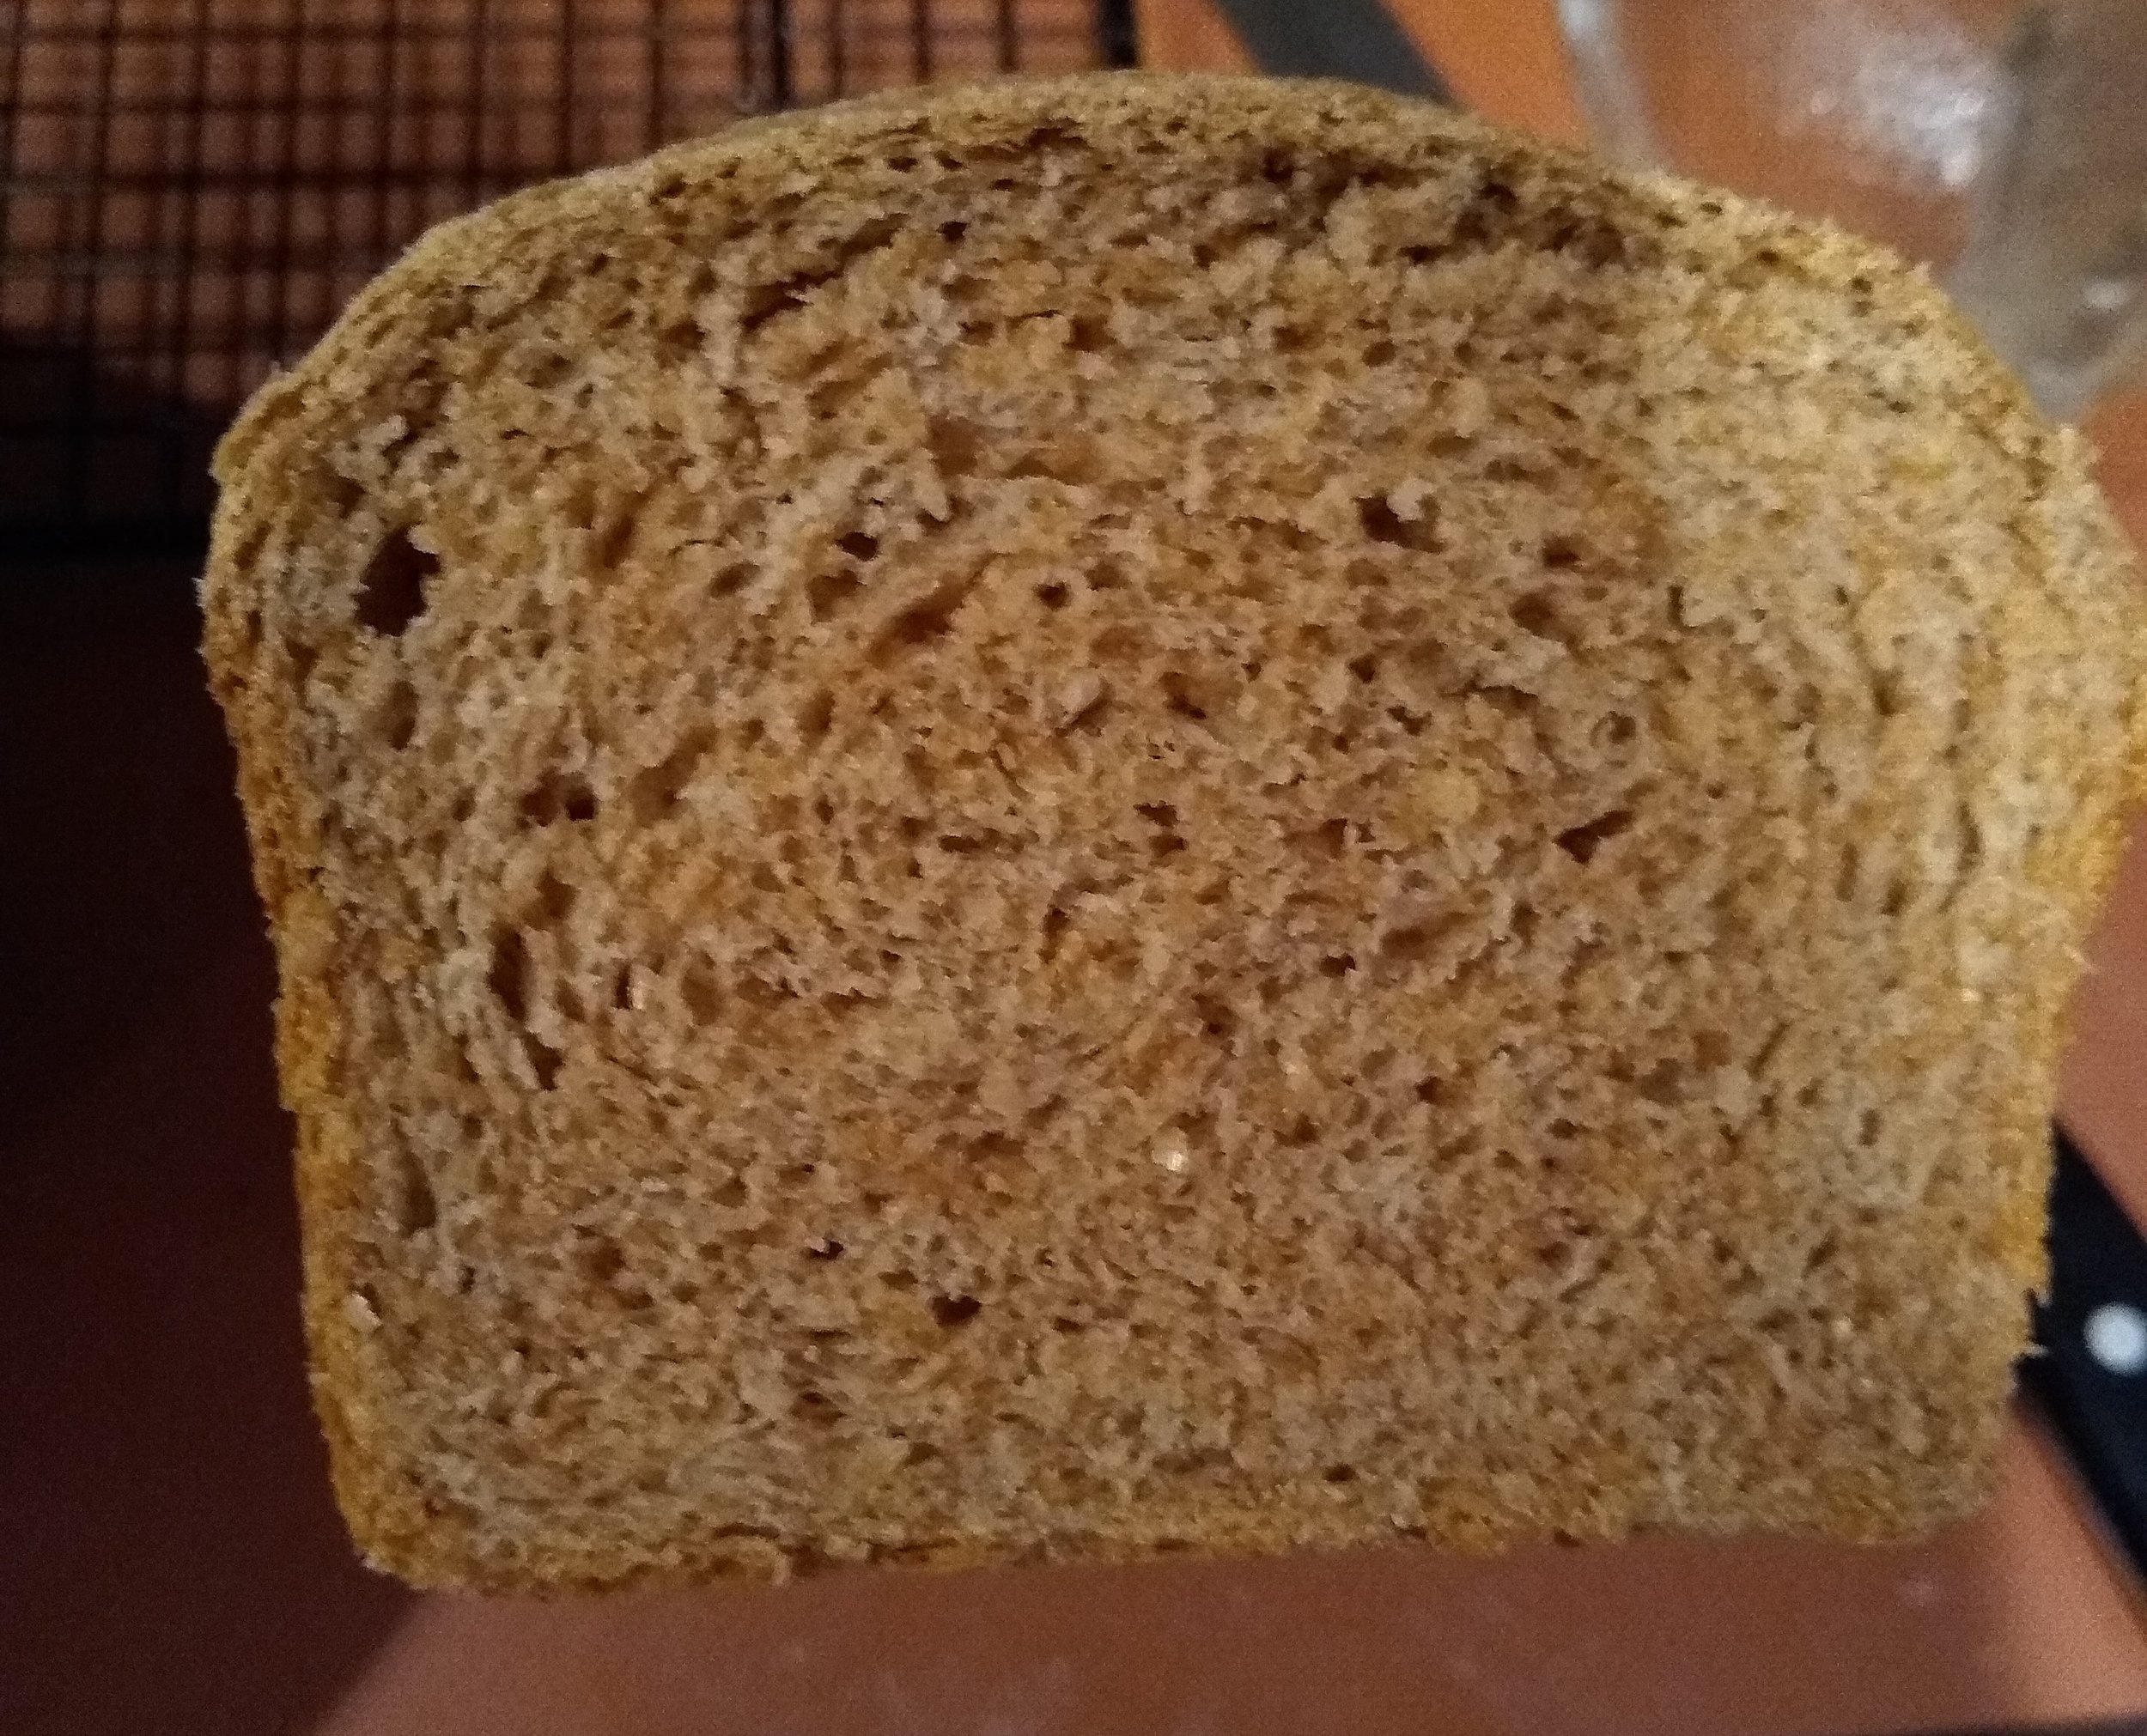
Luckily, CSA member David cracked the code for how to bake bread using only 100% whole wheat flour from Double F Ranch (a fresh-milled, unsifted, hard red spring flour) that yields a delicious, chewy loaf.

And he was kind enough to share his secrets to success!

Even after baking bread for many years, David found reliably producing a quality whole wheat loaf an engaging challenge. With a son who went to culinary baking school there was also a family interest in cracking the code.

But that all changed during pandemic lock down when he came across a “stretch and fold” technique while watching a video in the King Arthur Flour Isolation Baking Series. This technique, combined with a wet dough and a long rest helps to build the gluten network within the bread to provide chewiness and structure.

Curious how this technique would hold up to whole wheat baking, David did some extra research, made careful observations and applied his years of bread-baking knowledge to crafting a whole wheat sandwich bread.

And the resulting loaves he turned out of the pan were fantastic.

“There is really something quite remarkable about the wheat. Either how it is milled or grown. That first loaf David made was quite possibly the best whole wheat bread I have ever had.”
— CSA member Linda


100% Whole Wheat Bread - David’s CSA Superpower

Adapted from Tassajara Bread Book and King Arthur Flour - Isolation Baking Show

Makes 3 loaves.

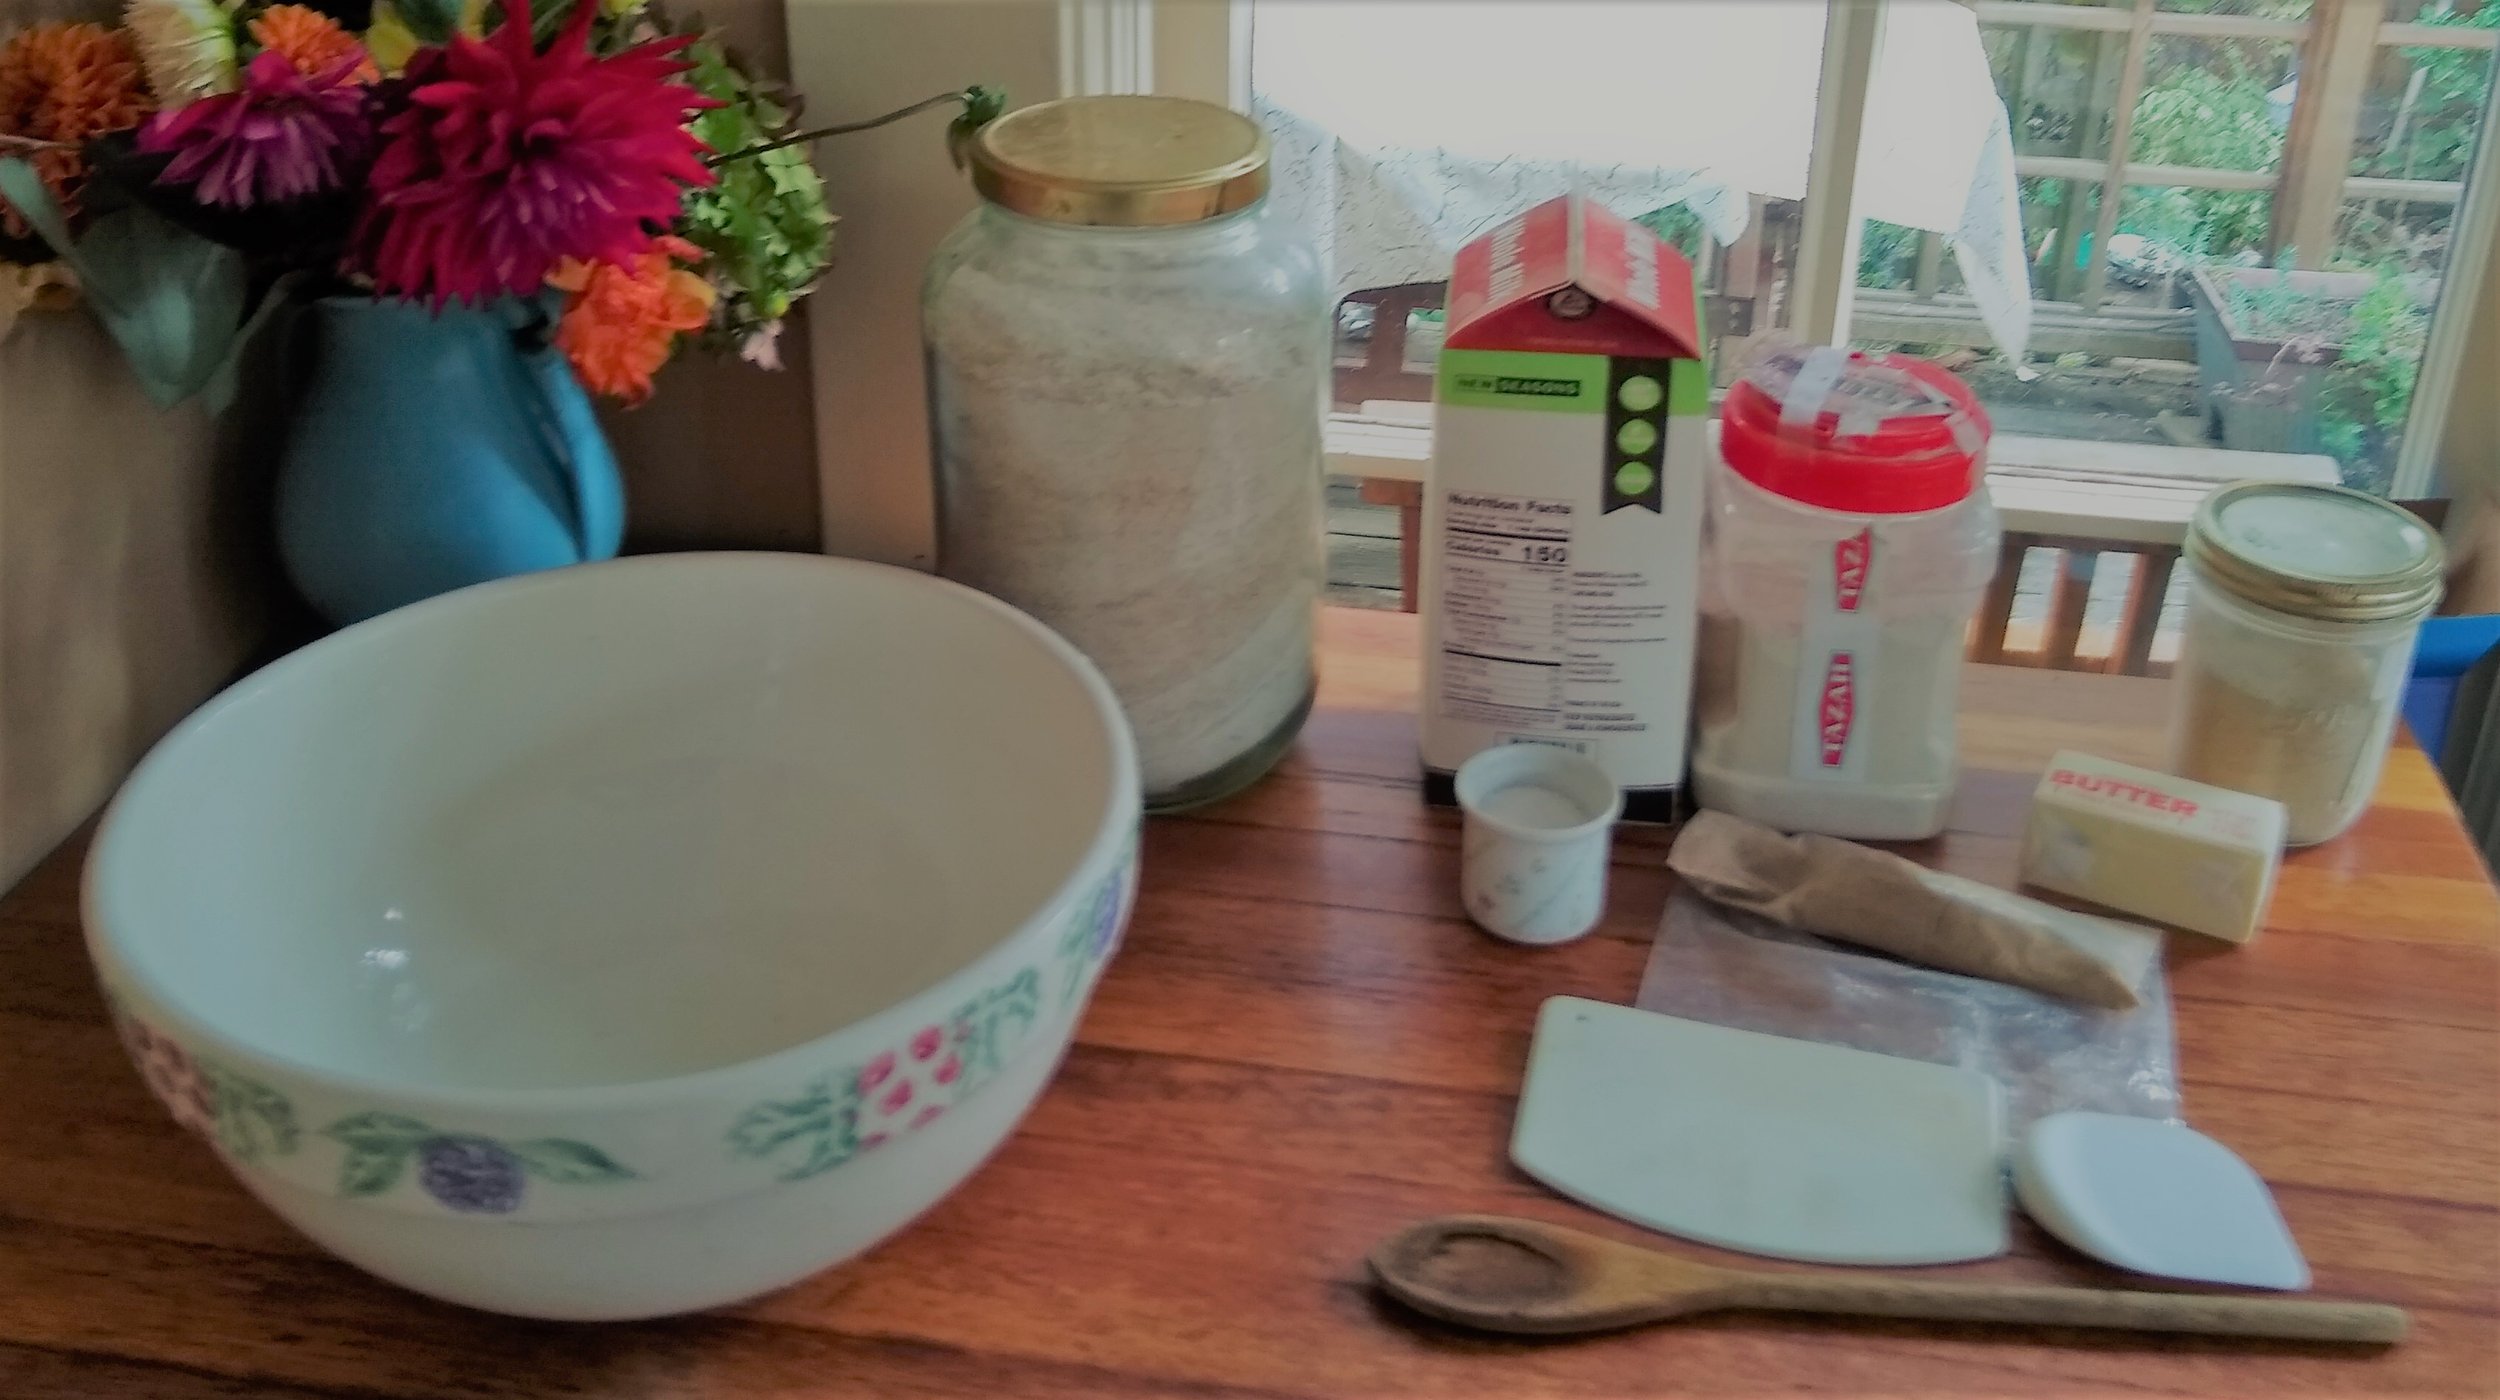
Ingredients

  • 3 ¼+ cups whole milk

  • 2 tablespoons yeast (active dry)

  • ¼ cup brown bugar

  • 1 cup +/- lukewarm water

  • ½ cup gluten (optional, could use AP flour)

  • 5 teaspoons salt

  • 4 oz unsalted butter (1 stick)

  • 9 ¼ cup+/- Double F Whole Wheat Flour

Instructions

  1. Scald 3 ¼ cups milk and let cool.

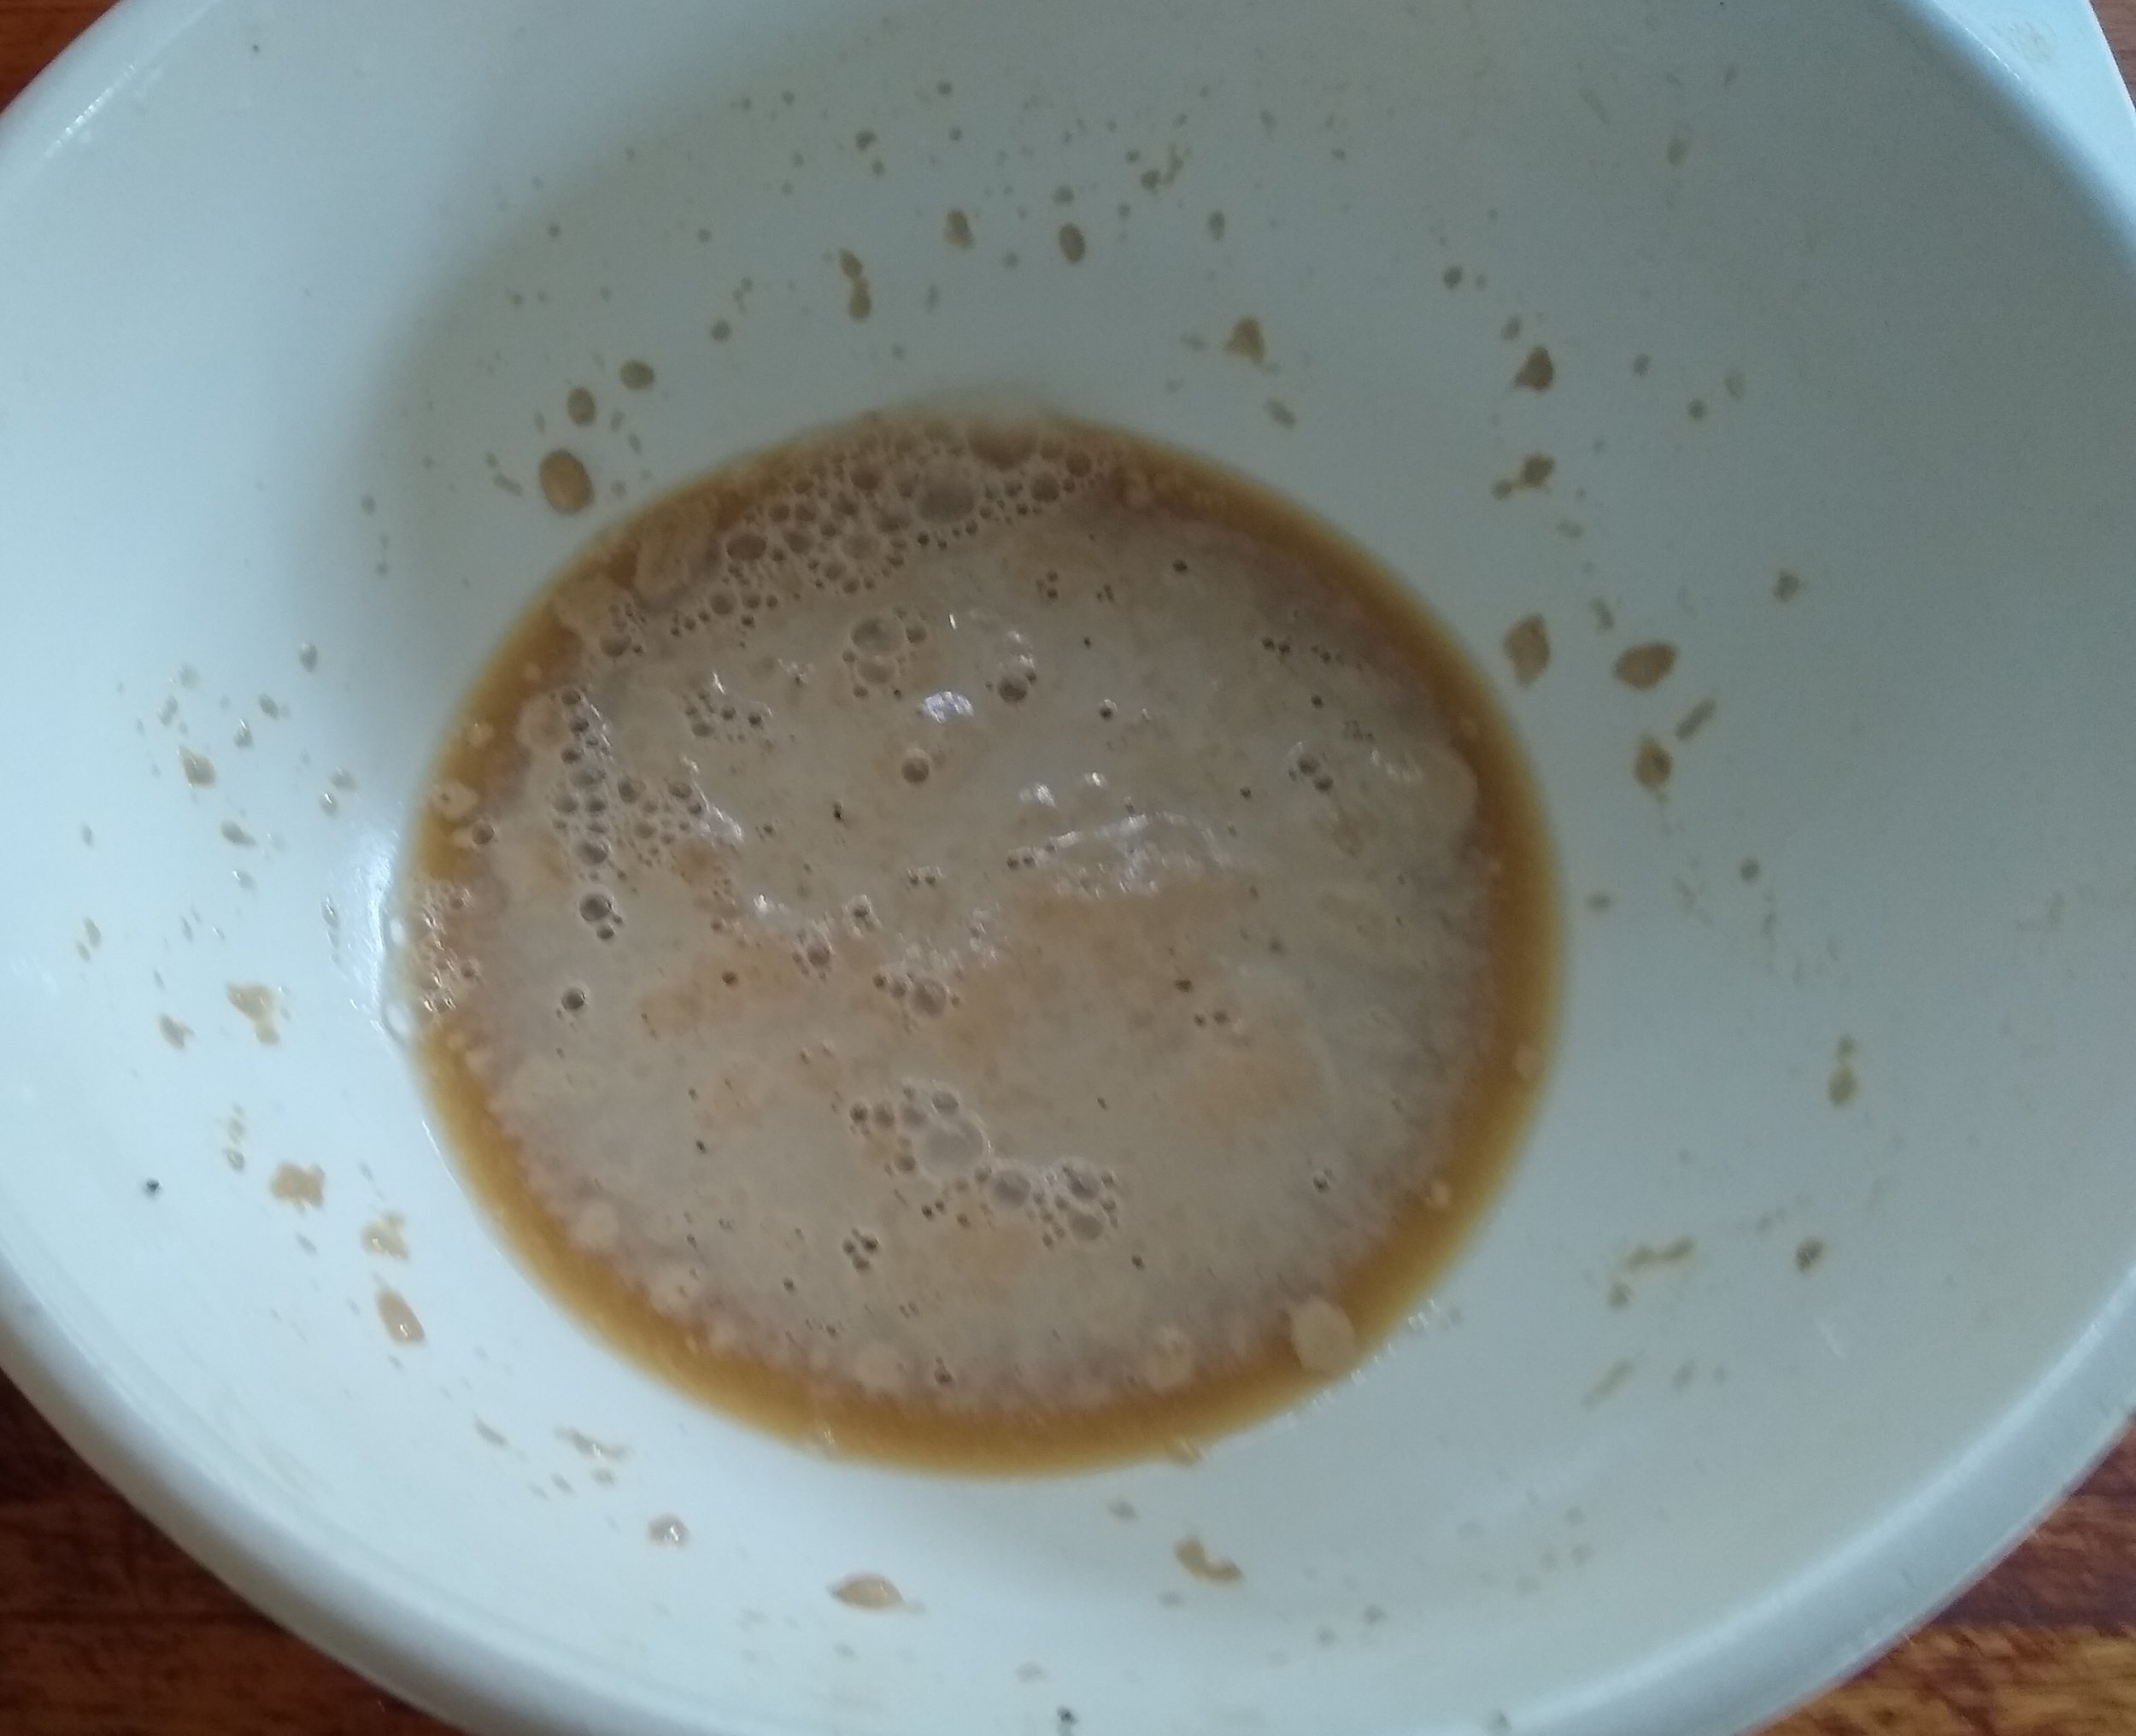
  2. Proof yeast 5 - 15 minutes with 1 cup water, ¼ cup brown sugar and 2 tablespoons yeast.

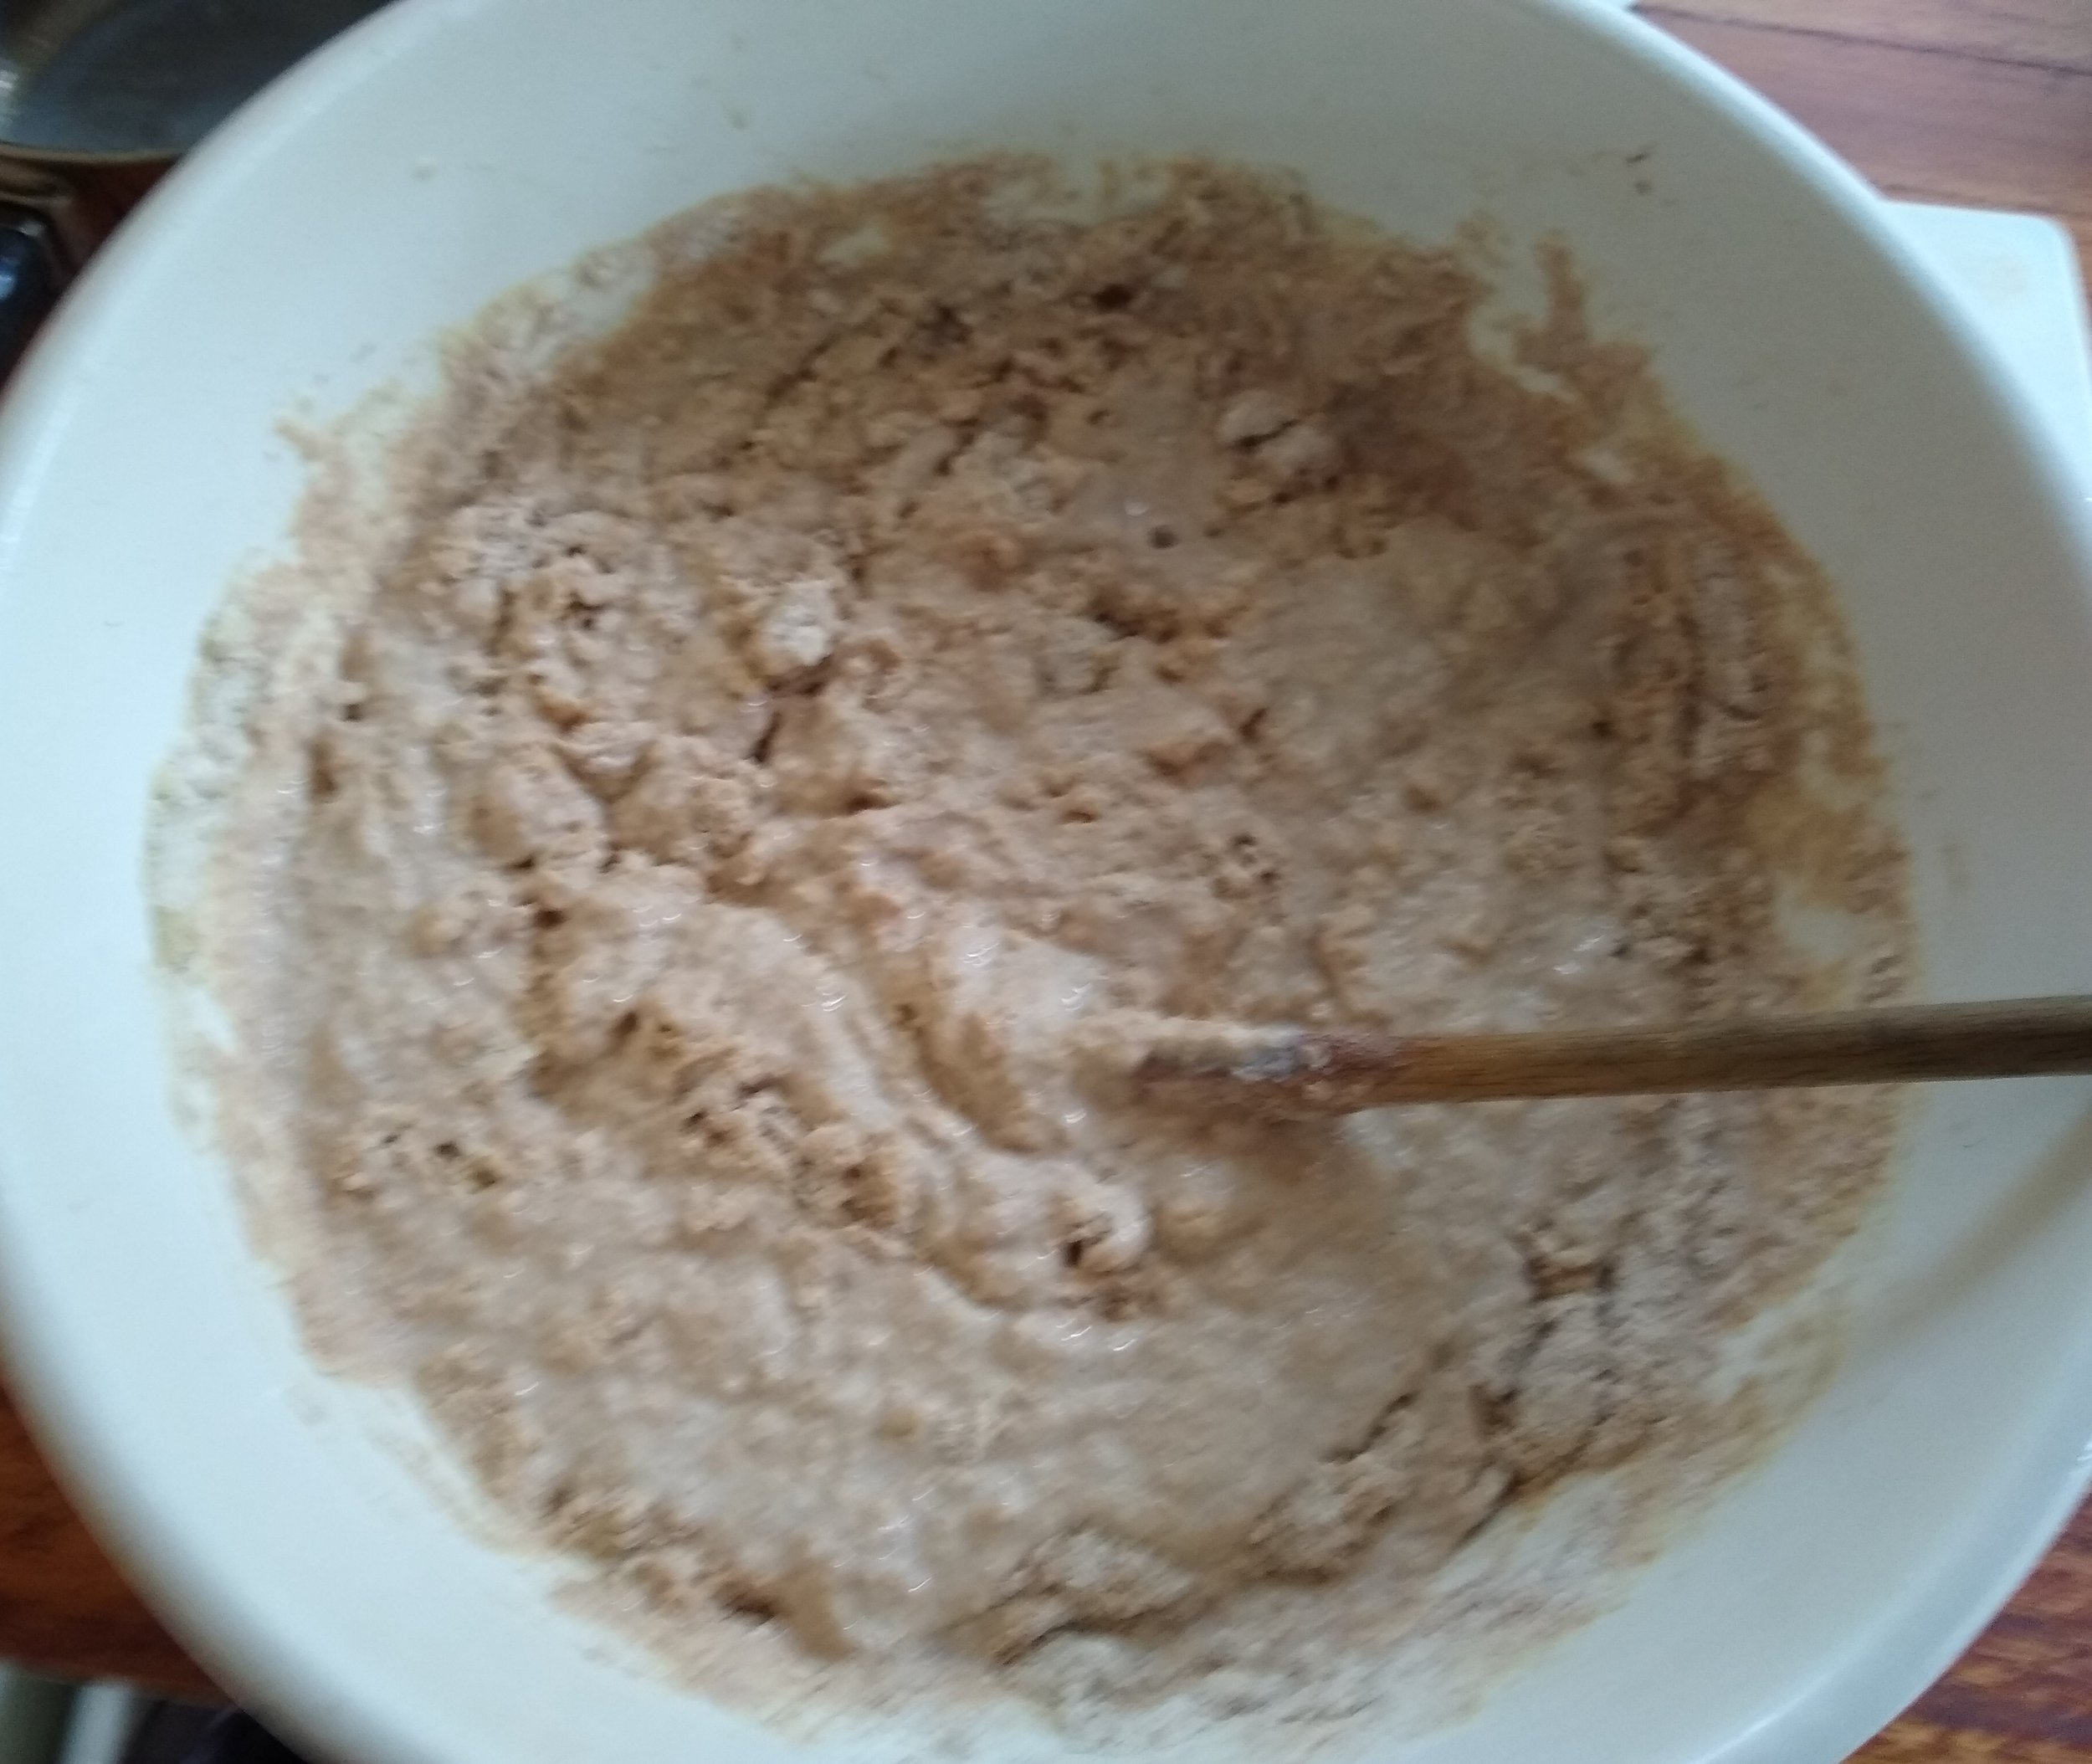
  3. Create sponge:

    • In a large bowl, add  3 ¼ cups cooled milk.

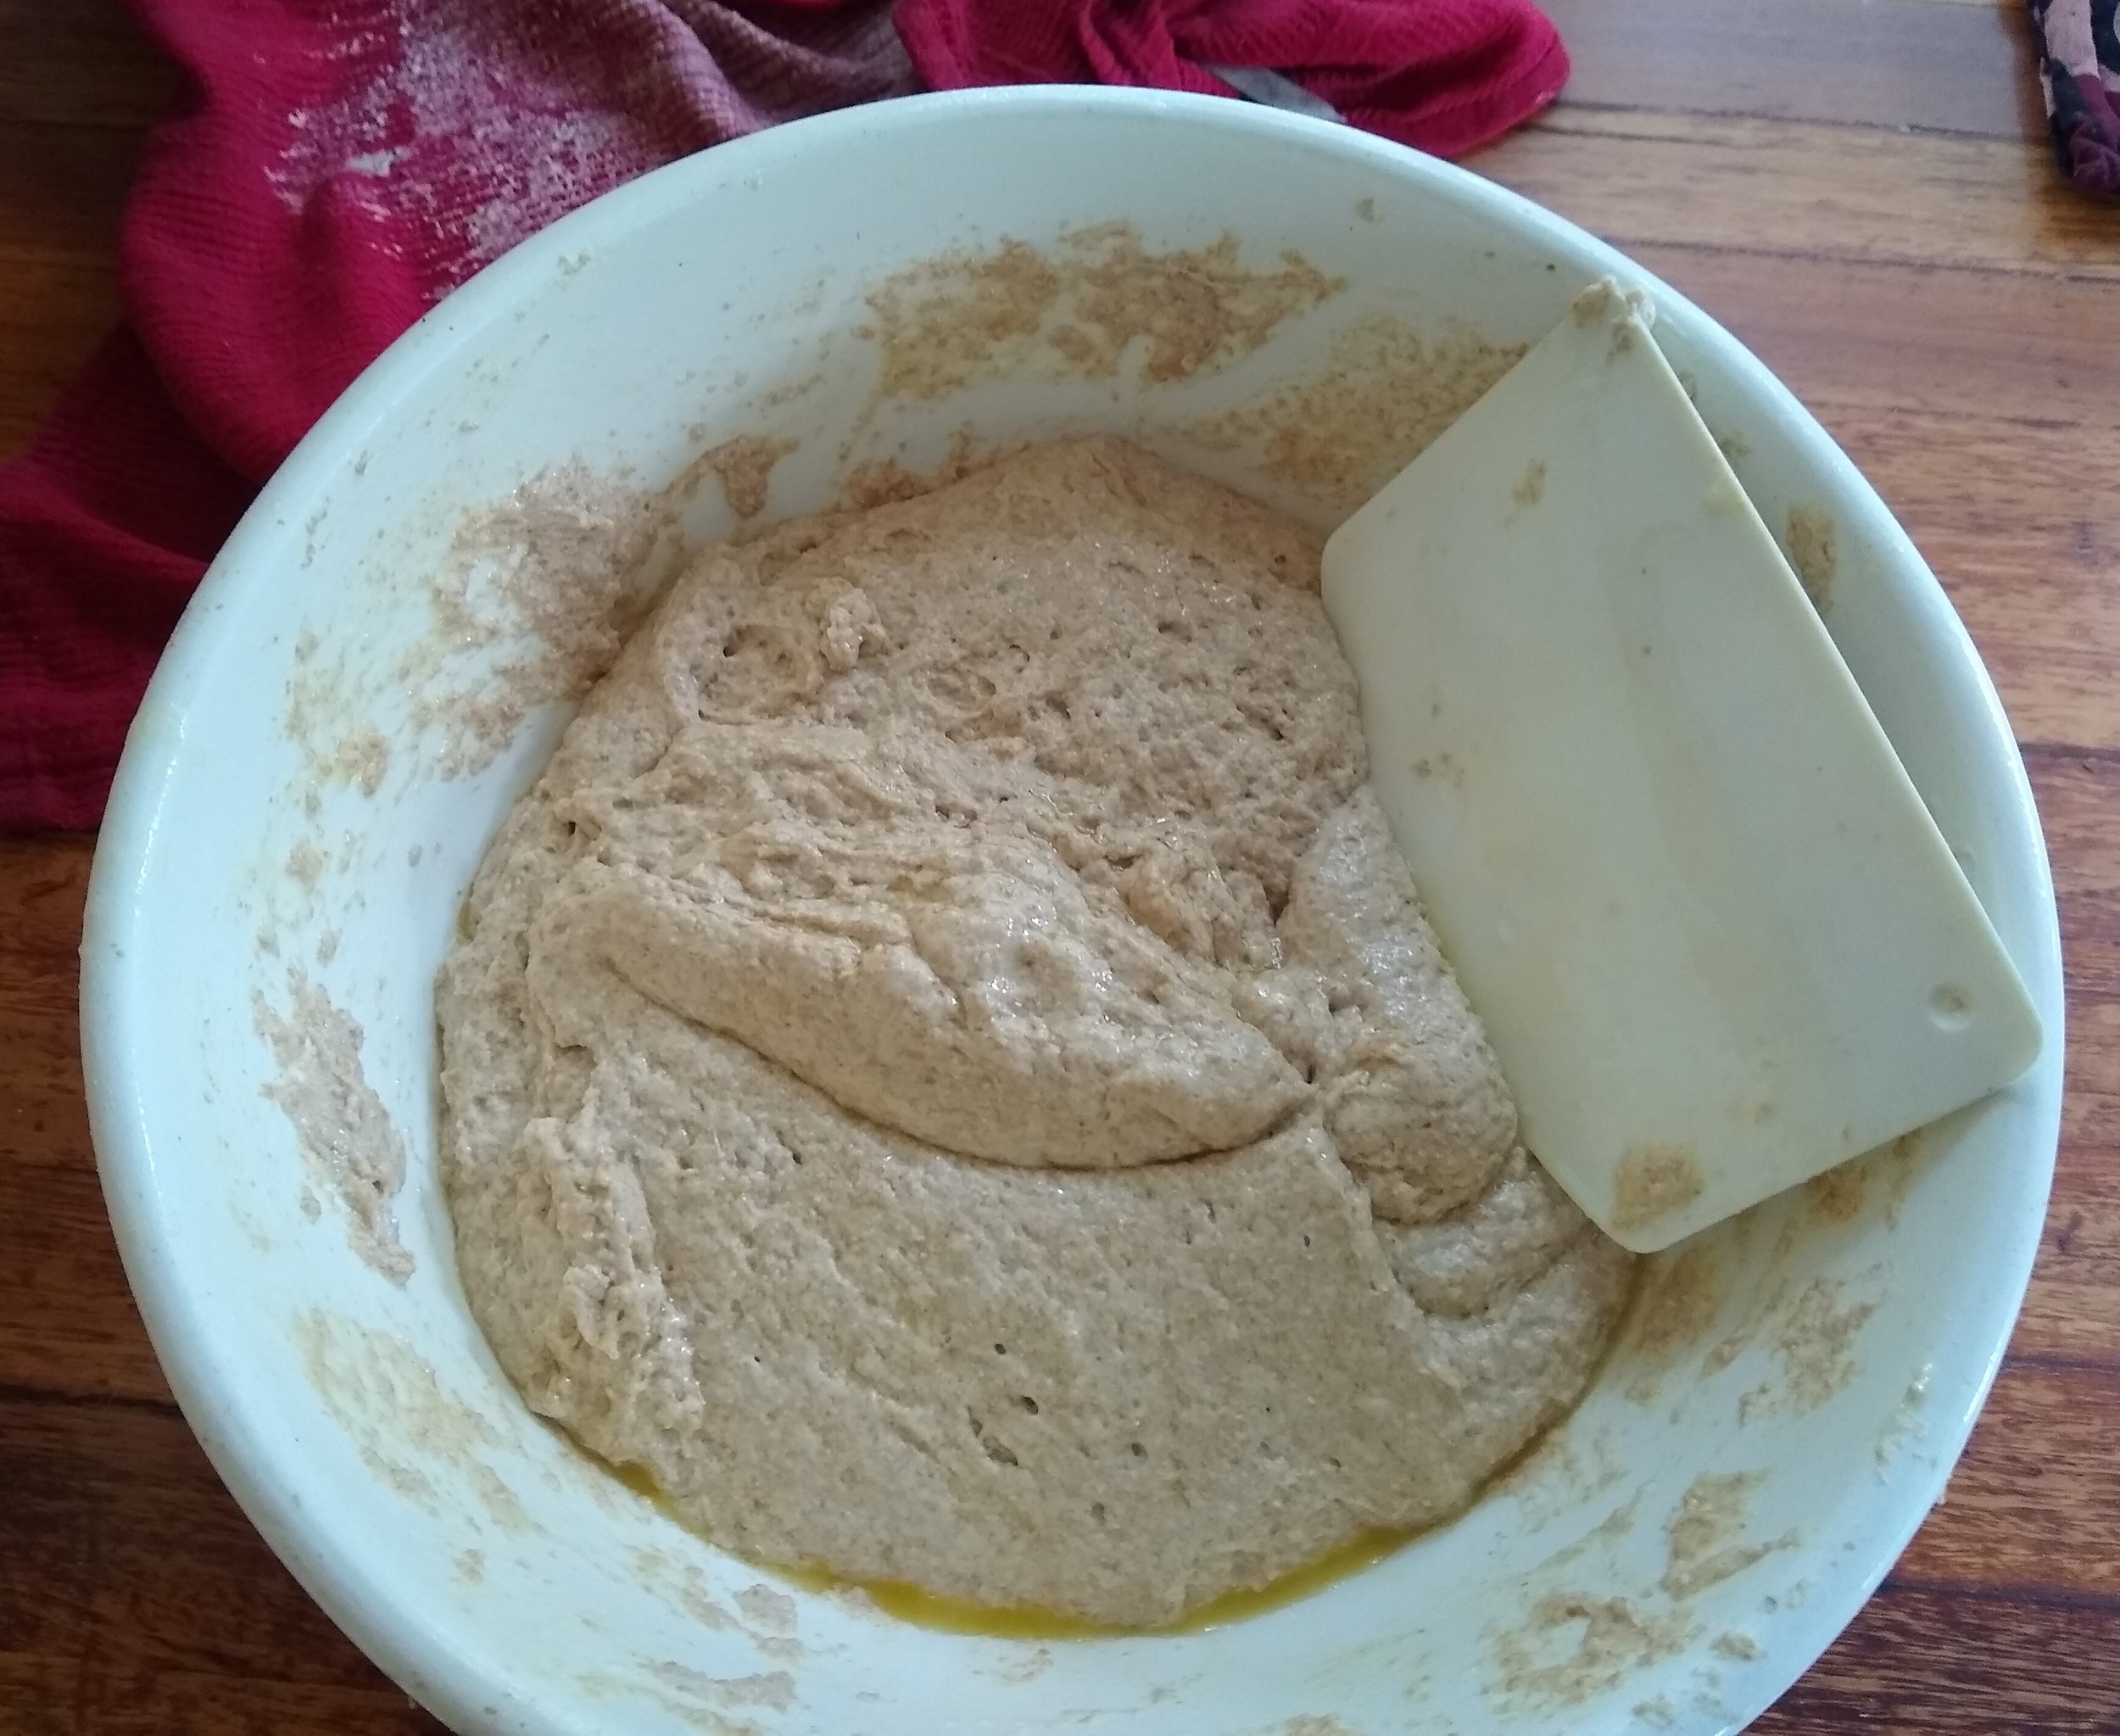
    • Mix in 4 1/2 cup flour, ½ cup gluten.

    • Once mixed, beat 100 strokes with spoon.

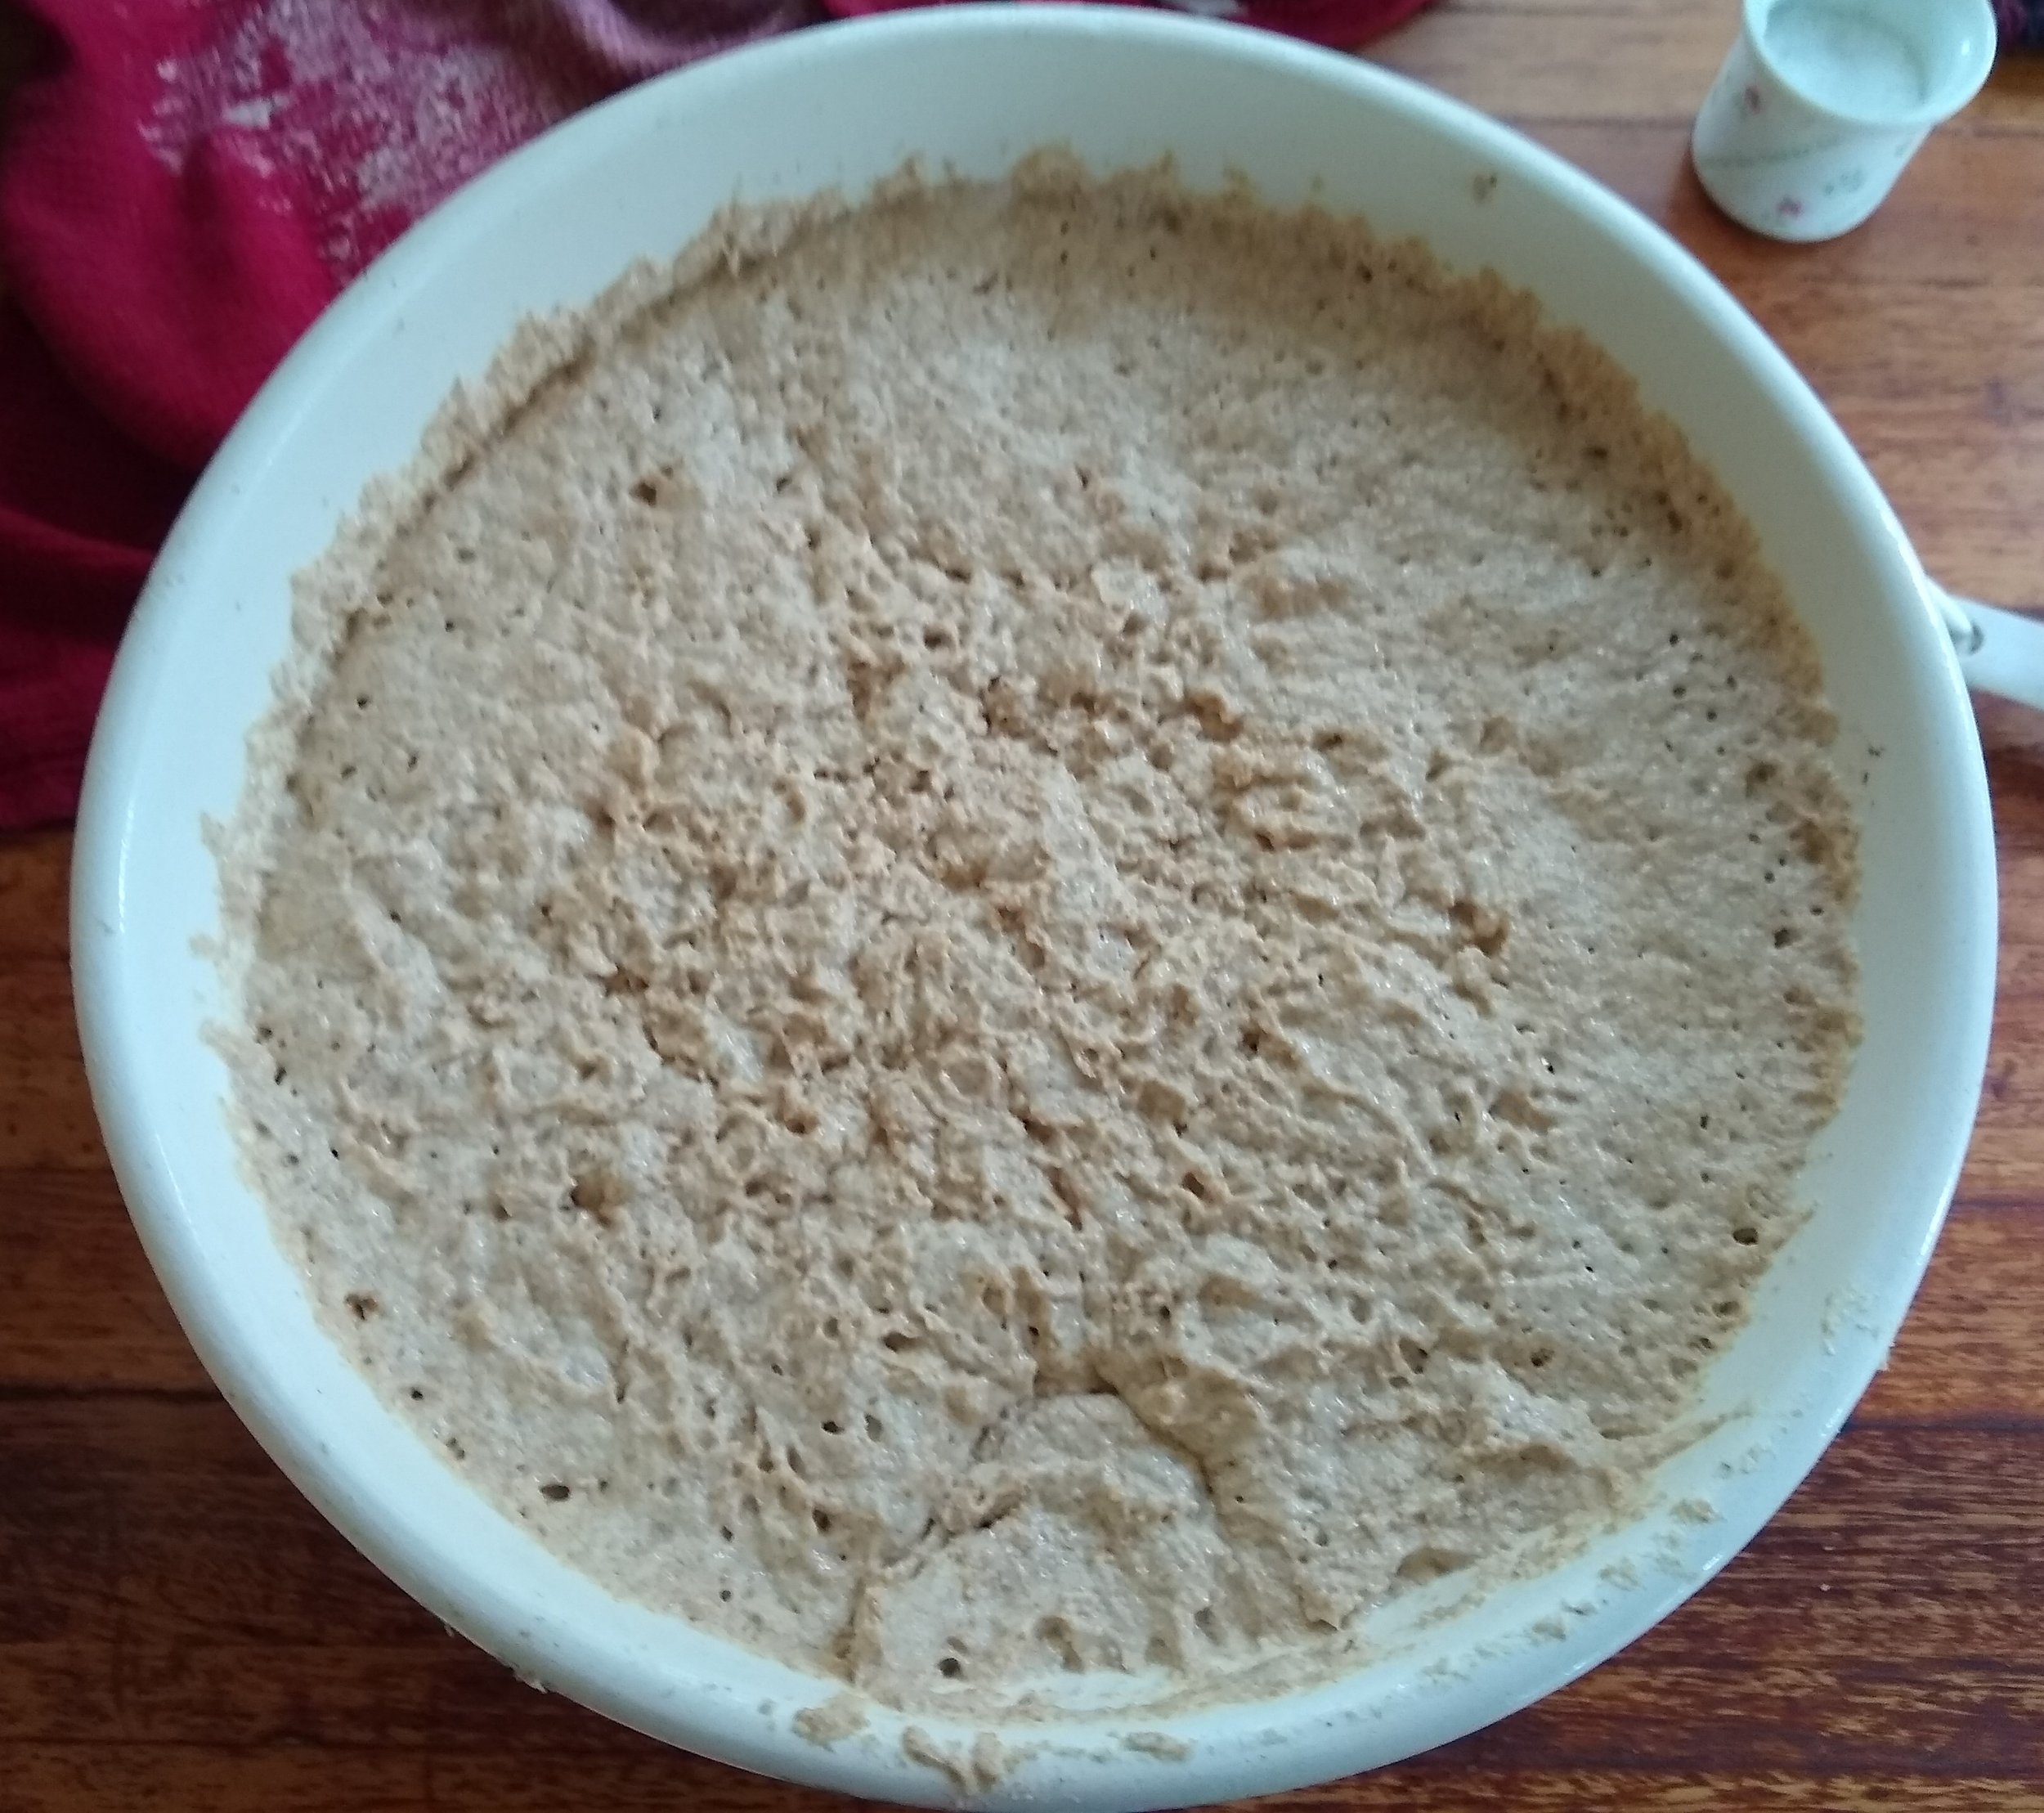
  4. Cover and set to rise for 30 minutes (I use oven on 'low proof' setting).

  5. Melt butter and let cool.

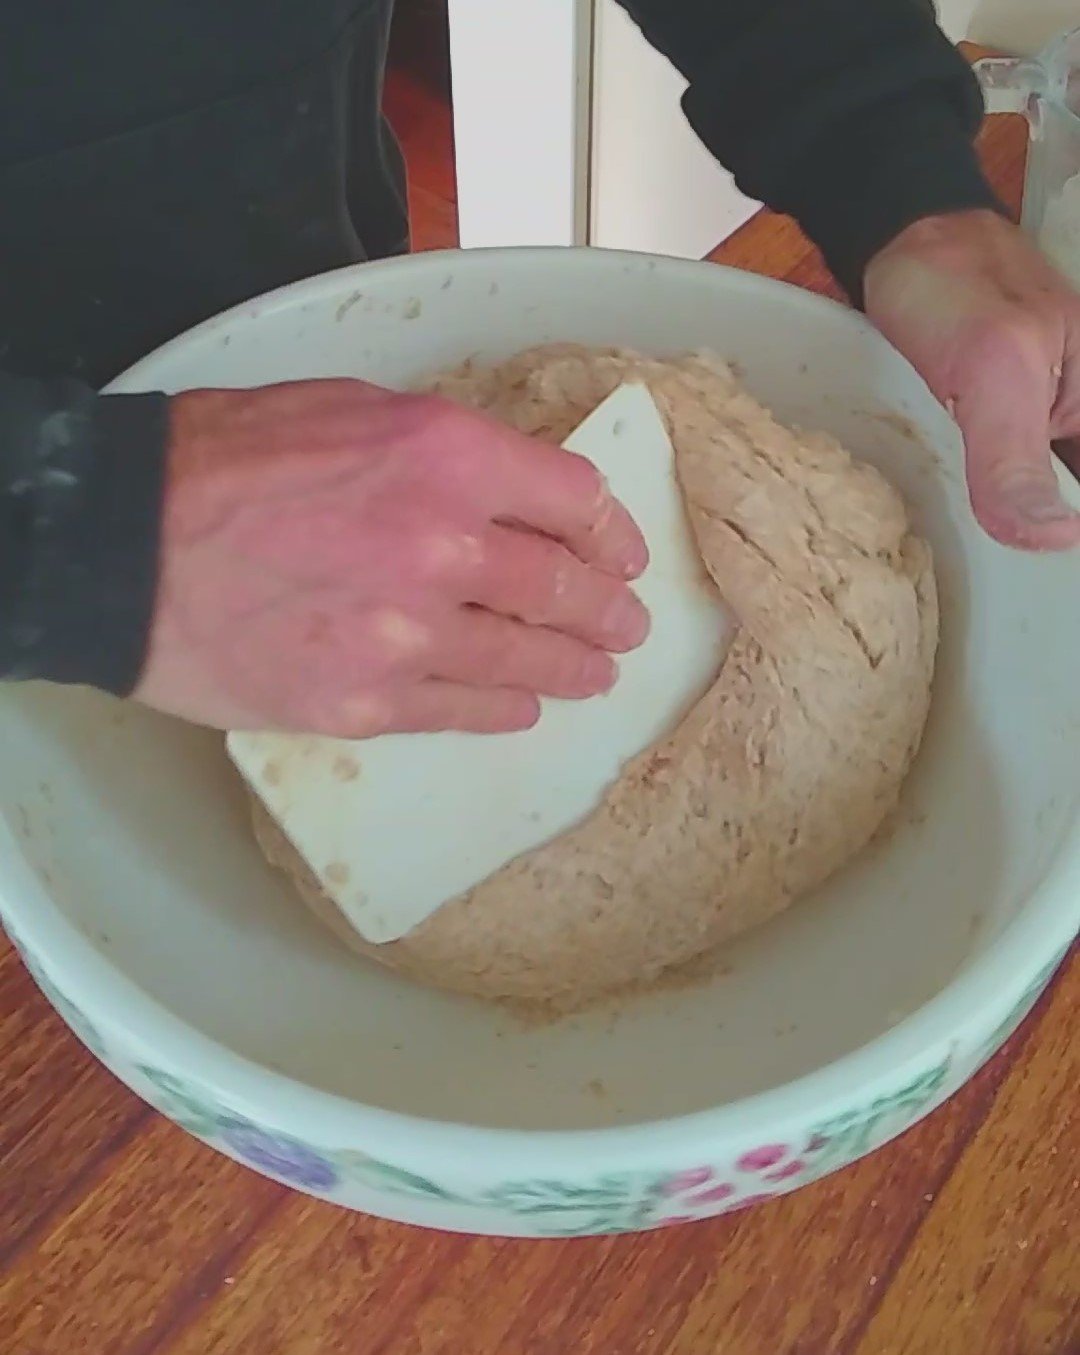
  6. Add butter and salt to risen sponge. Fold in with dough scraper. Slide scraper down bowl to get under sponge, then pull towards center of dough, turn bowl and repeat.

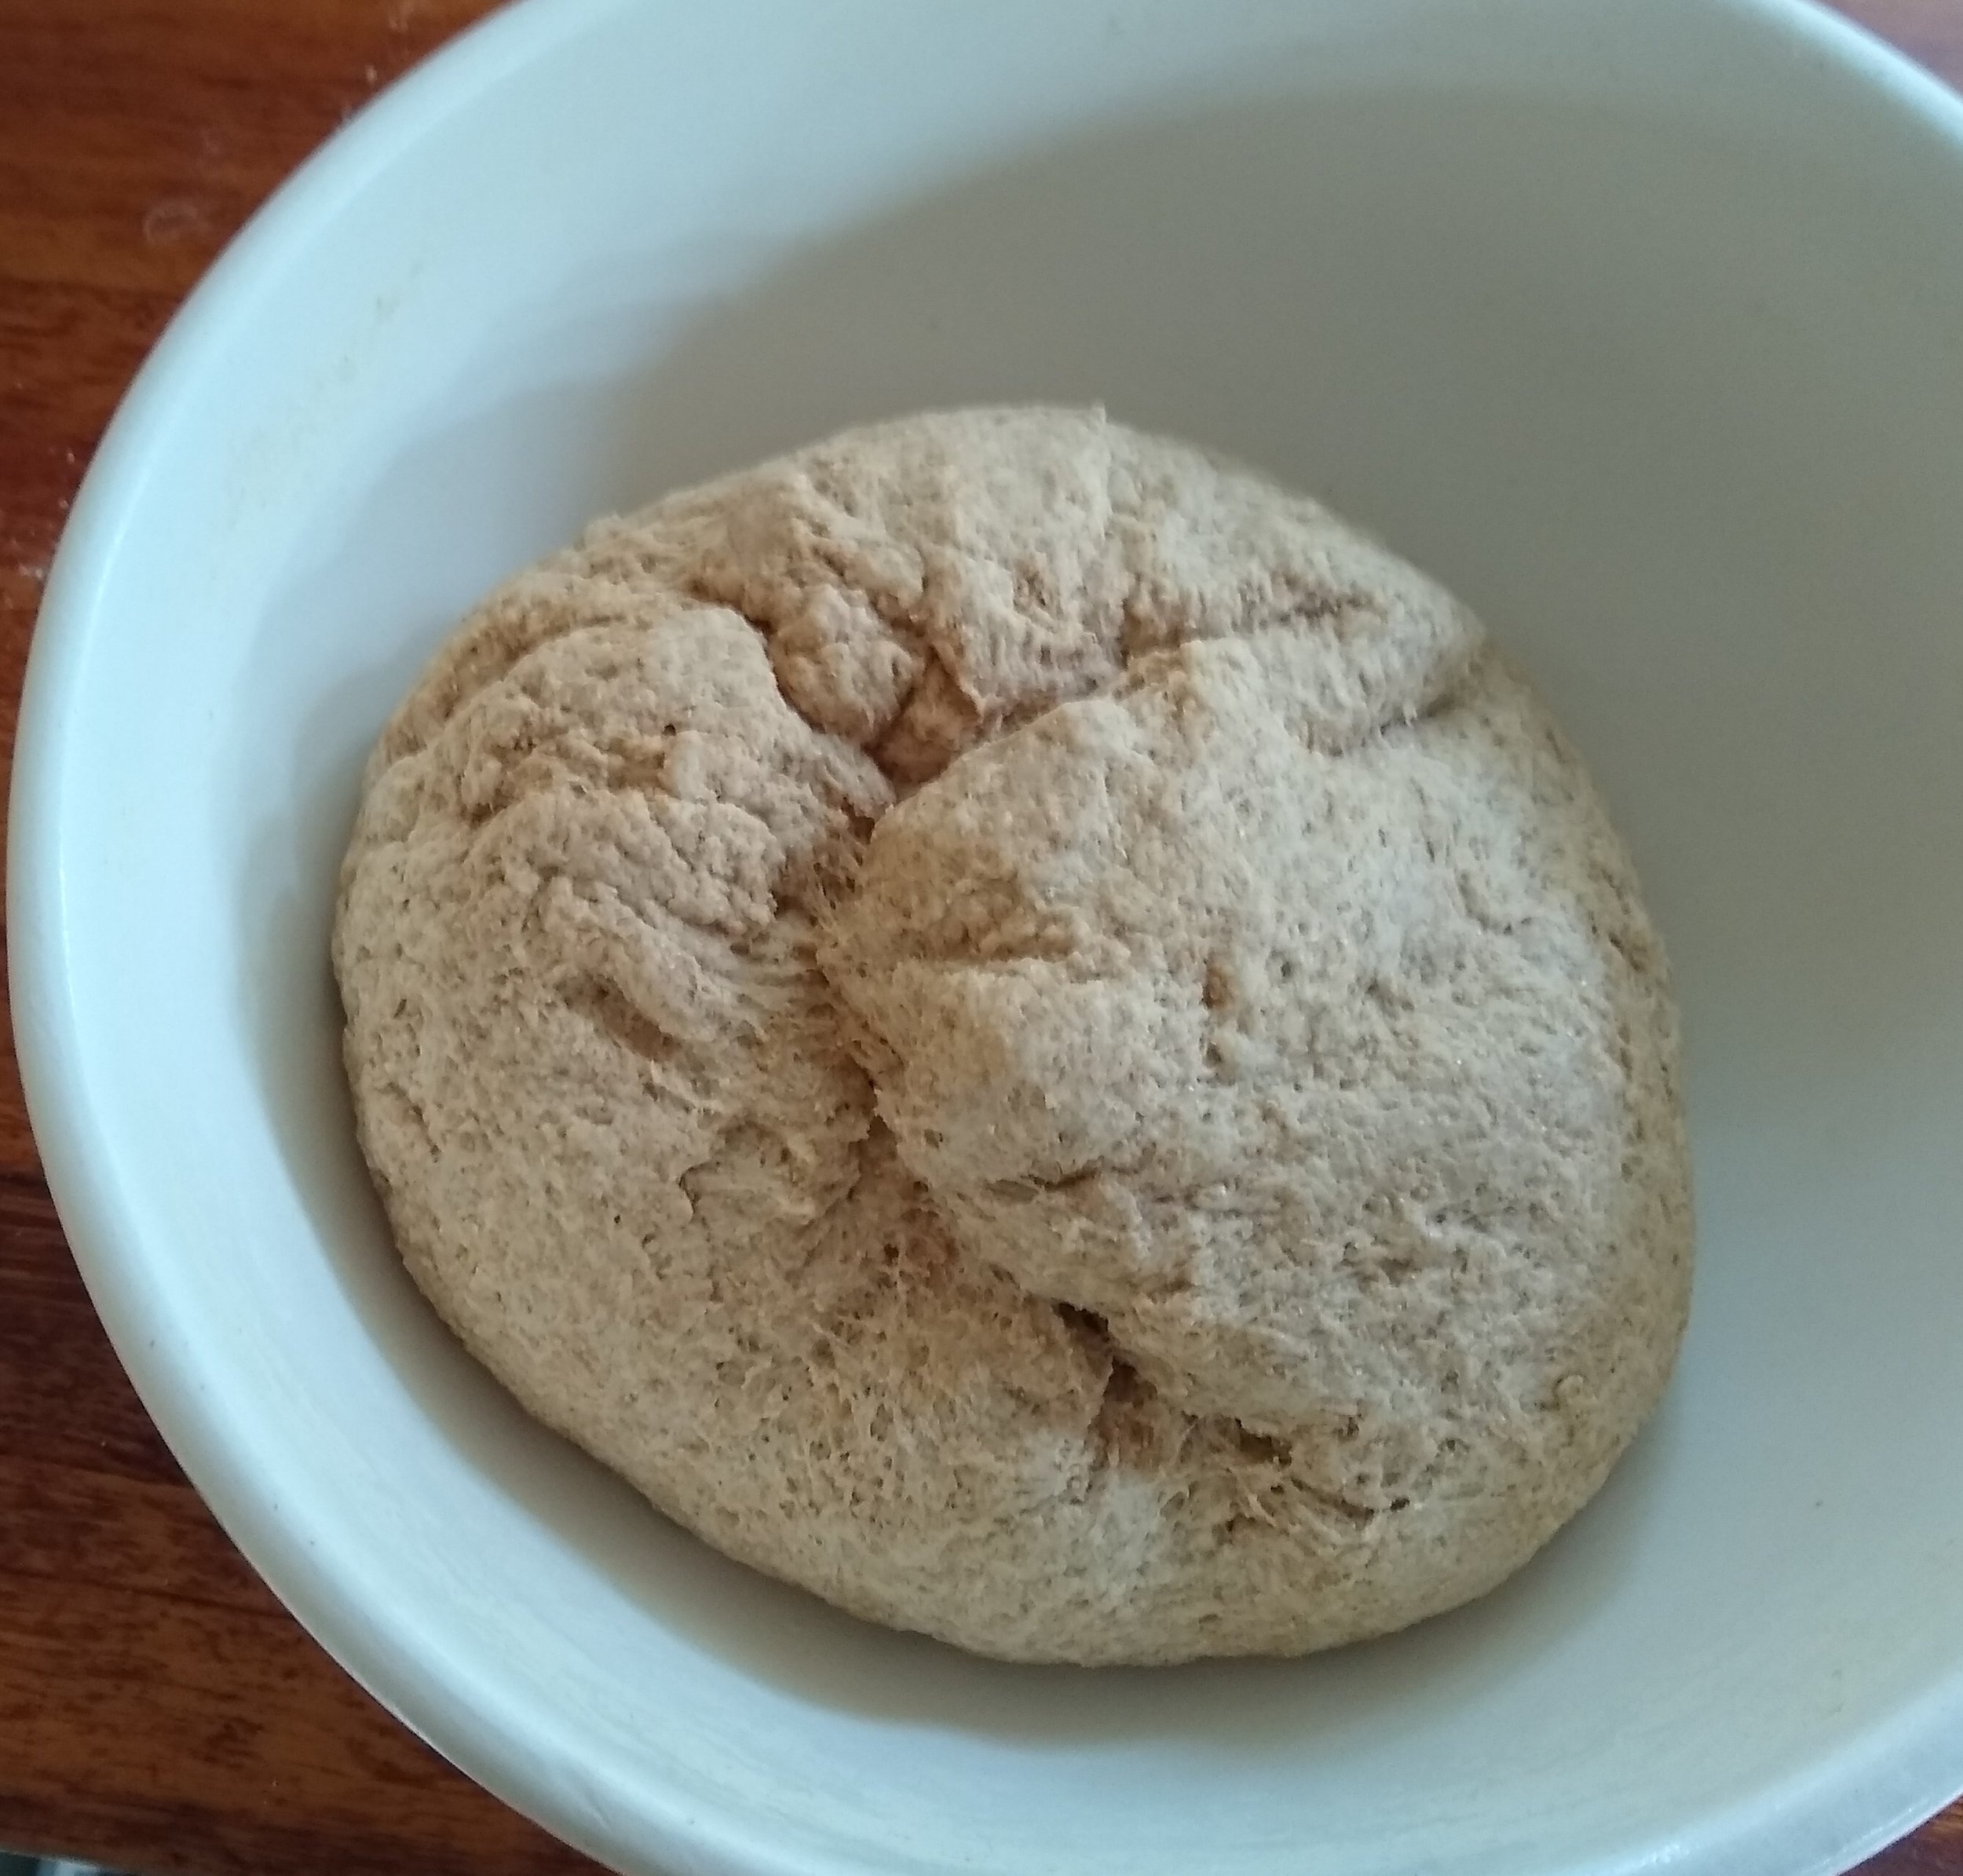
  7. Add approximately 4 cups flour to bowl, and fold and stretch until all is incorporated. Add more flour if needed. Dough will be tacky, but not stick to bowl, and have  a  pronounced bounce back when stuck with a finger. Expect this process to take 10 - 15 minutes.

  8. Cover and set to rise 40 minutes.

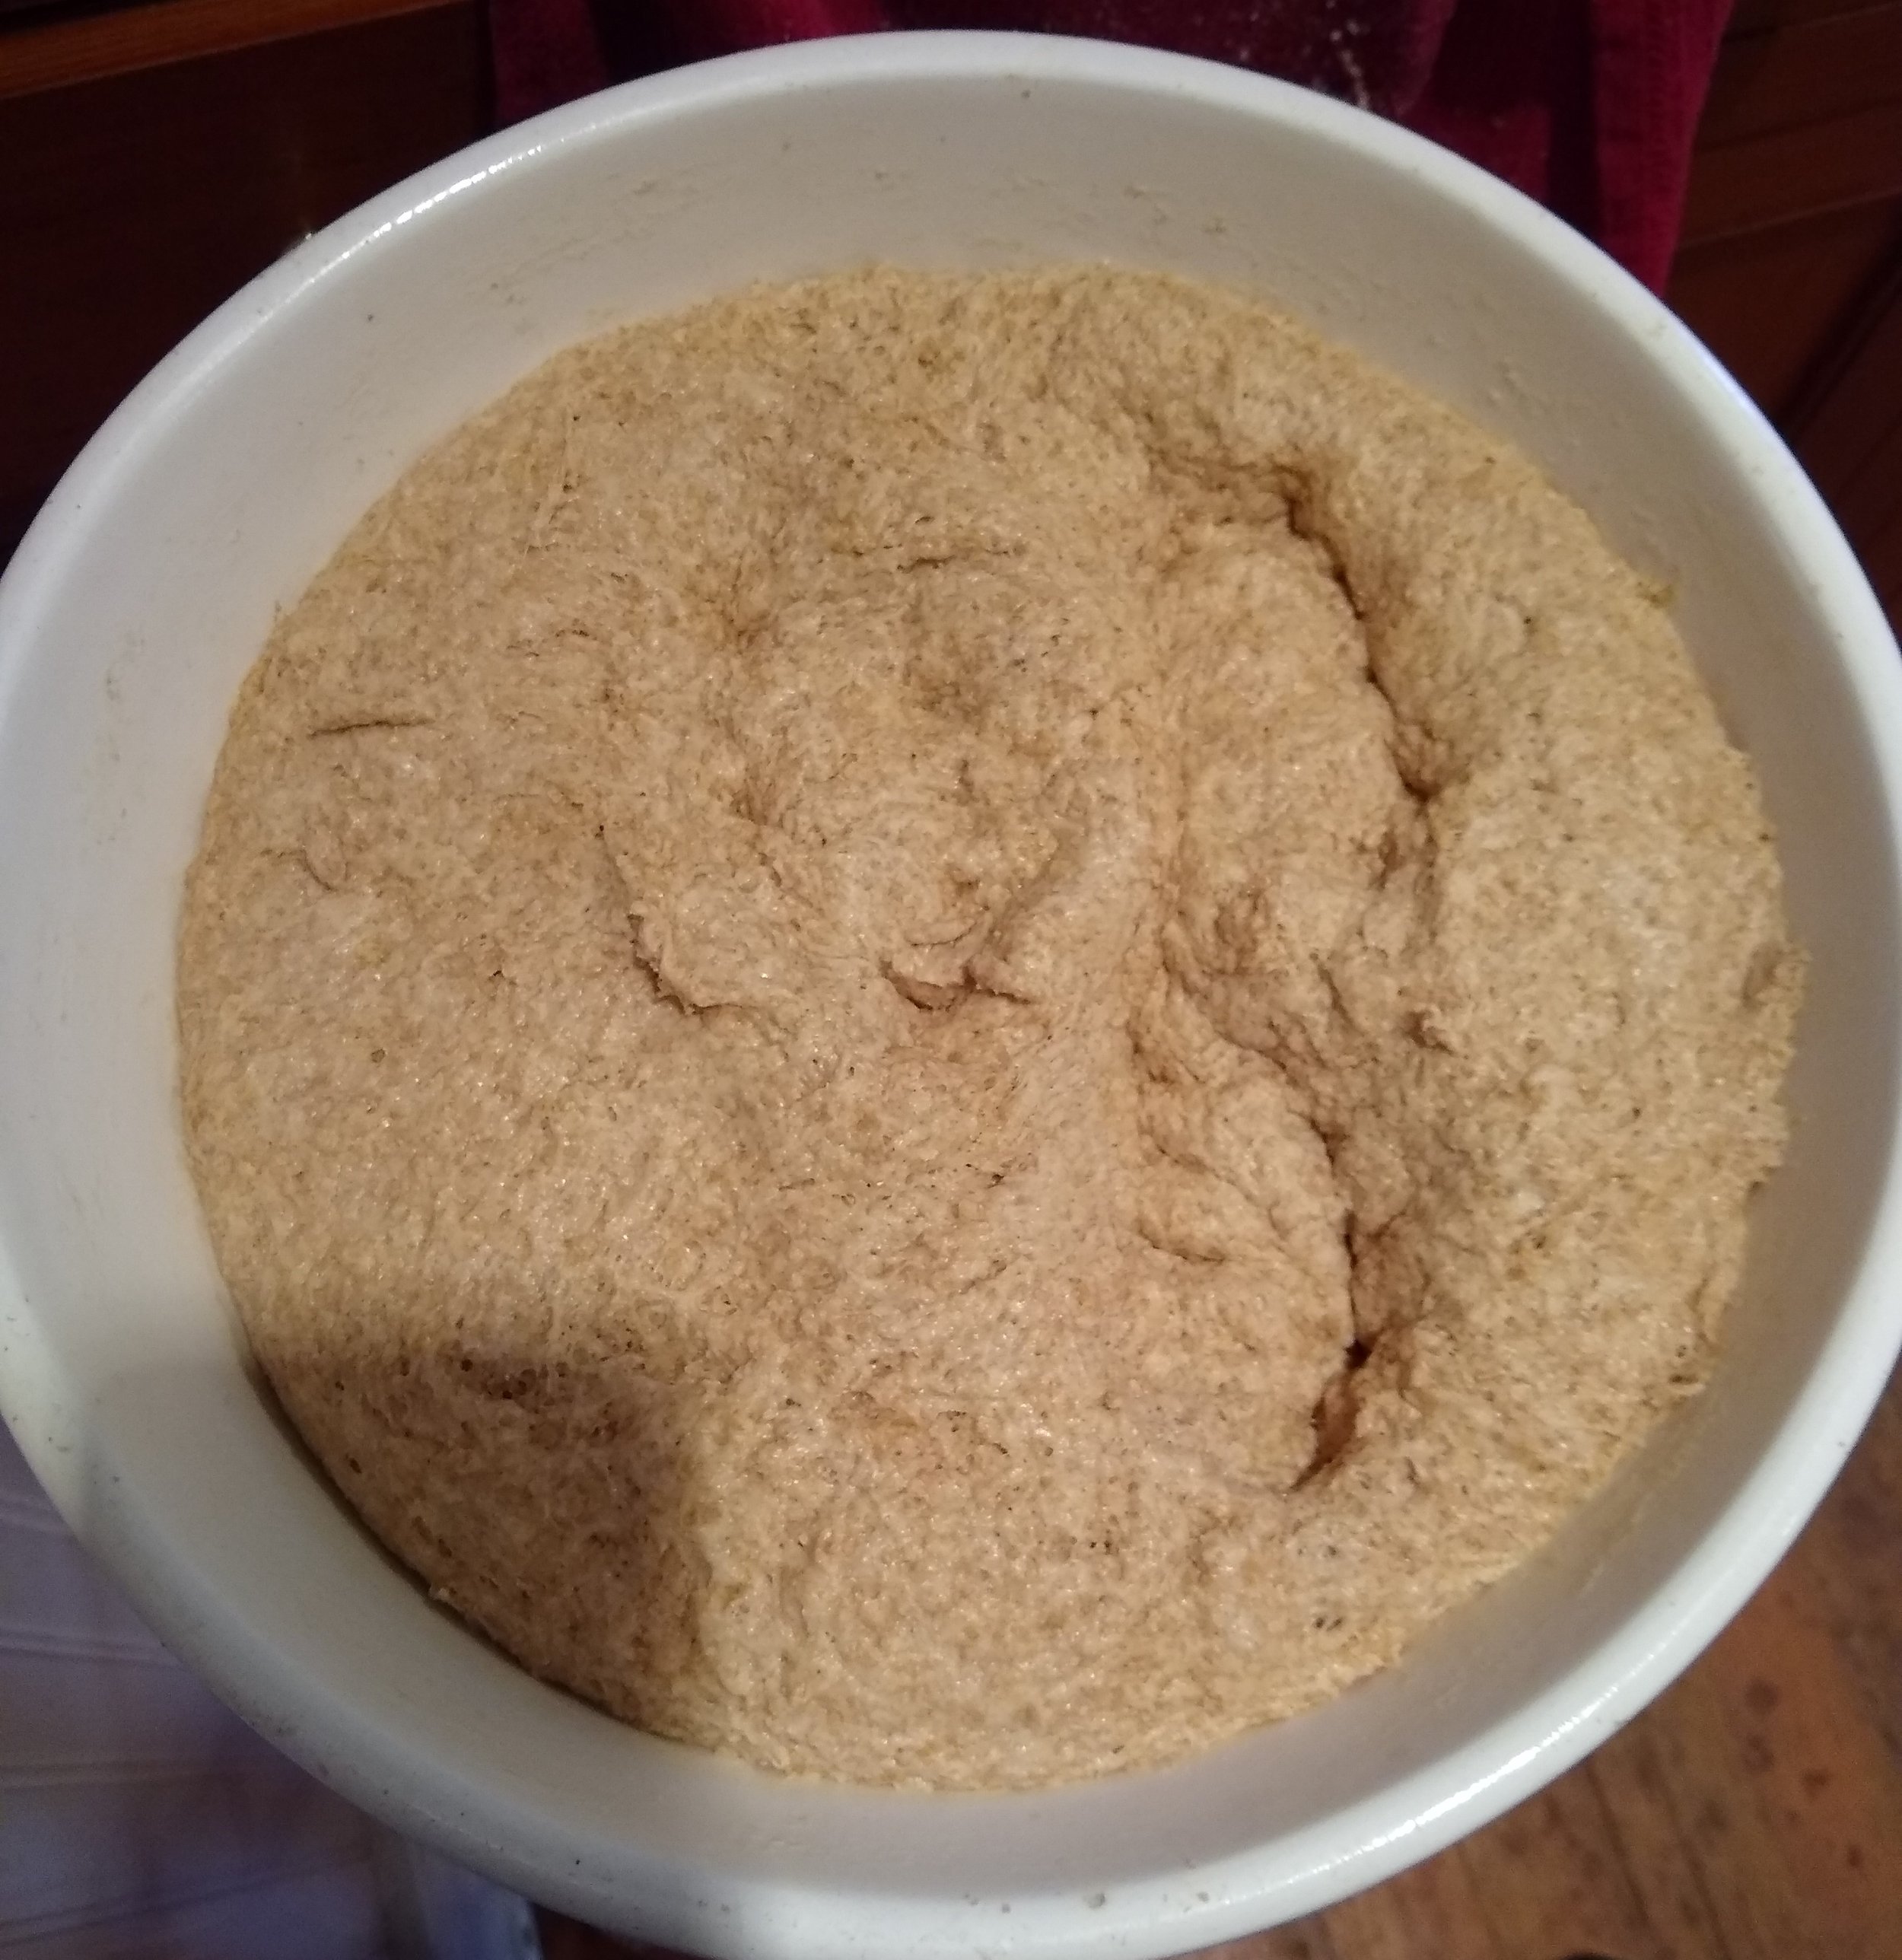
  9. Punch dough down and set to rise another 30 minutes.

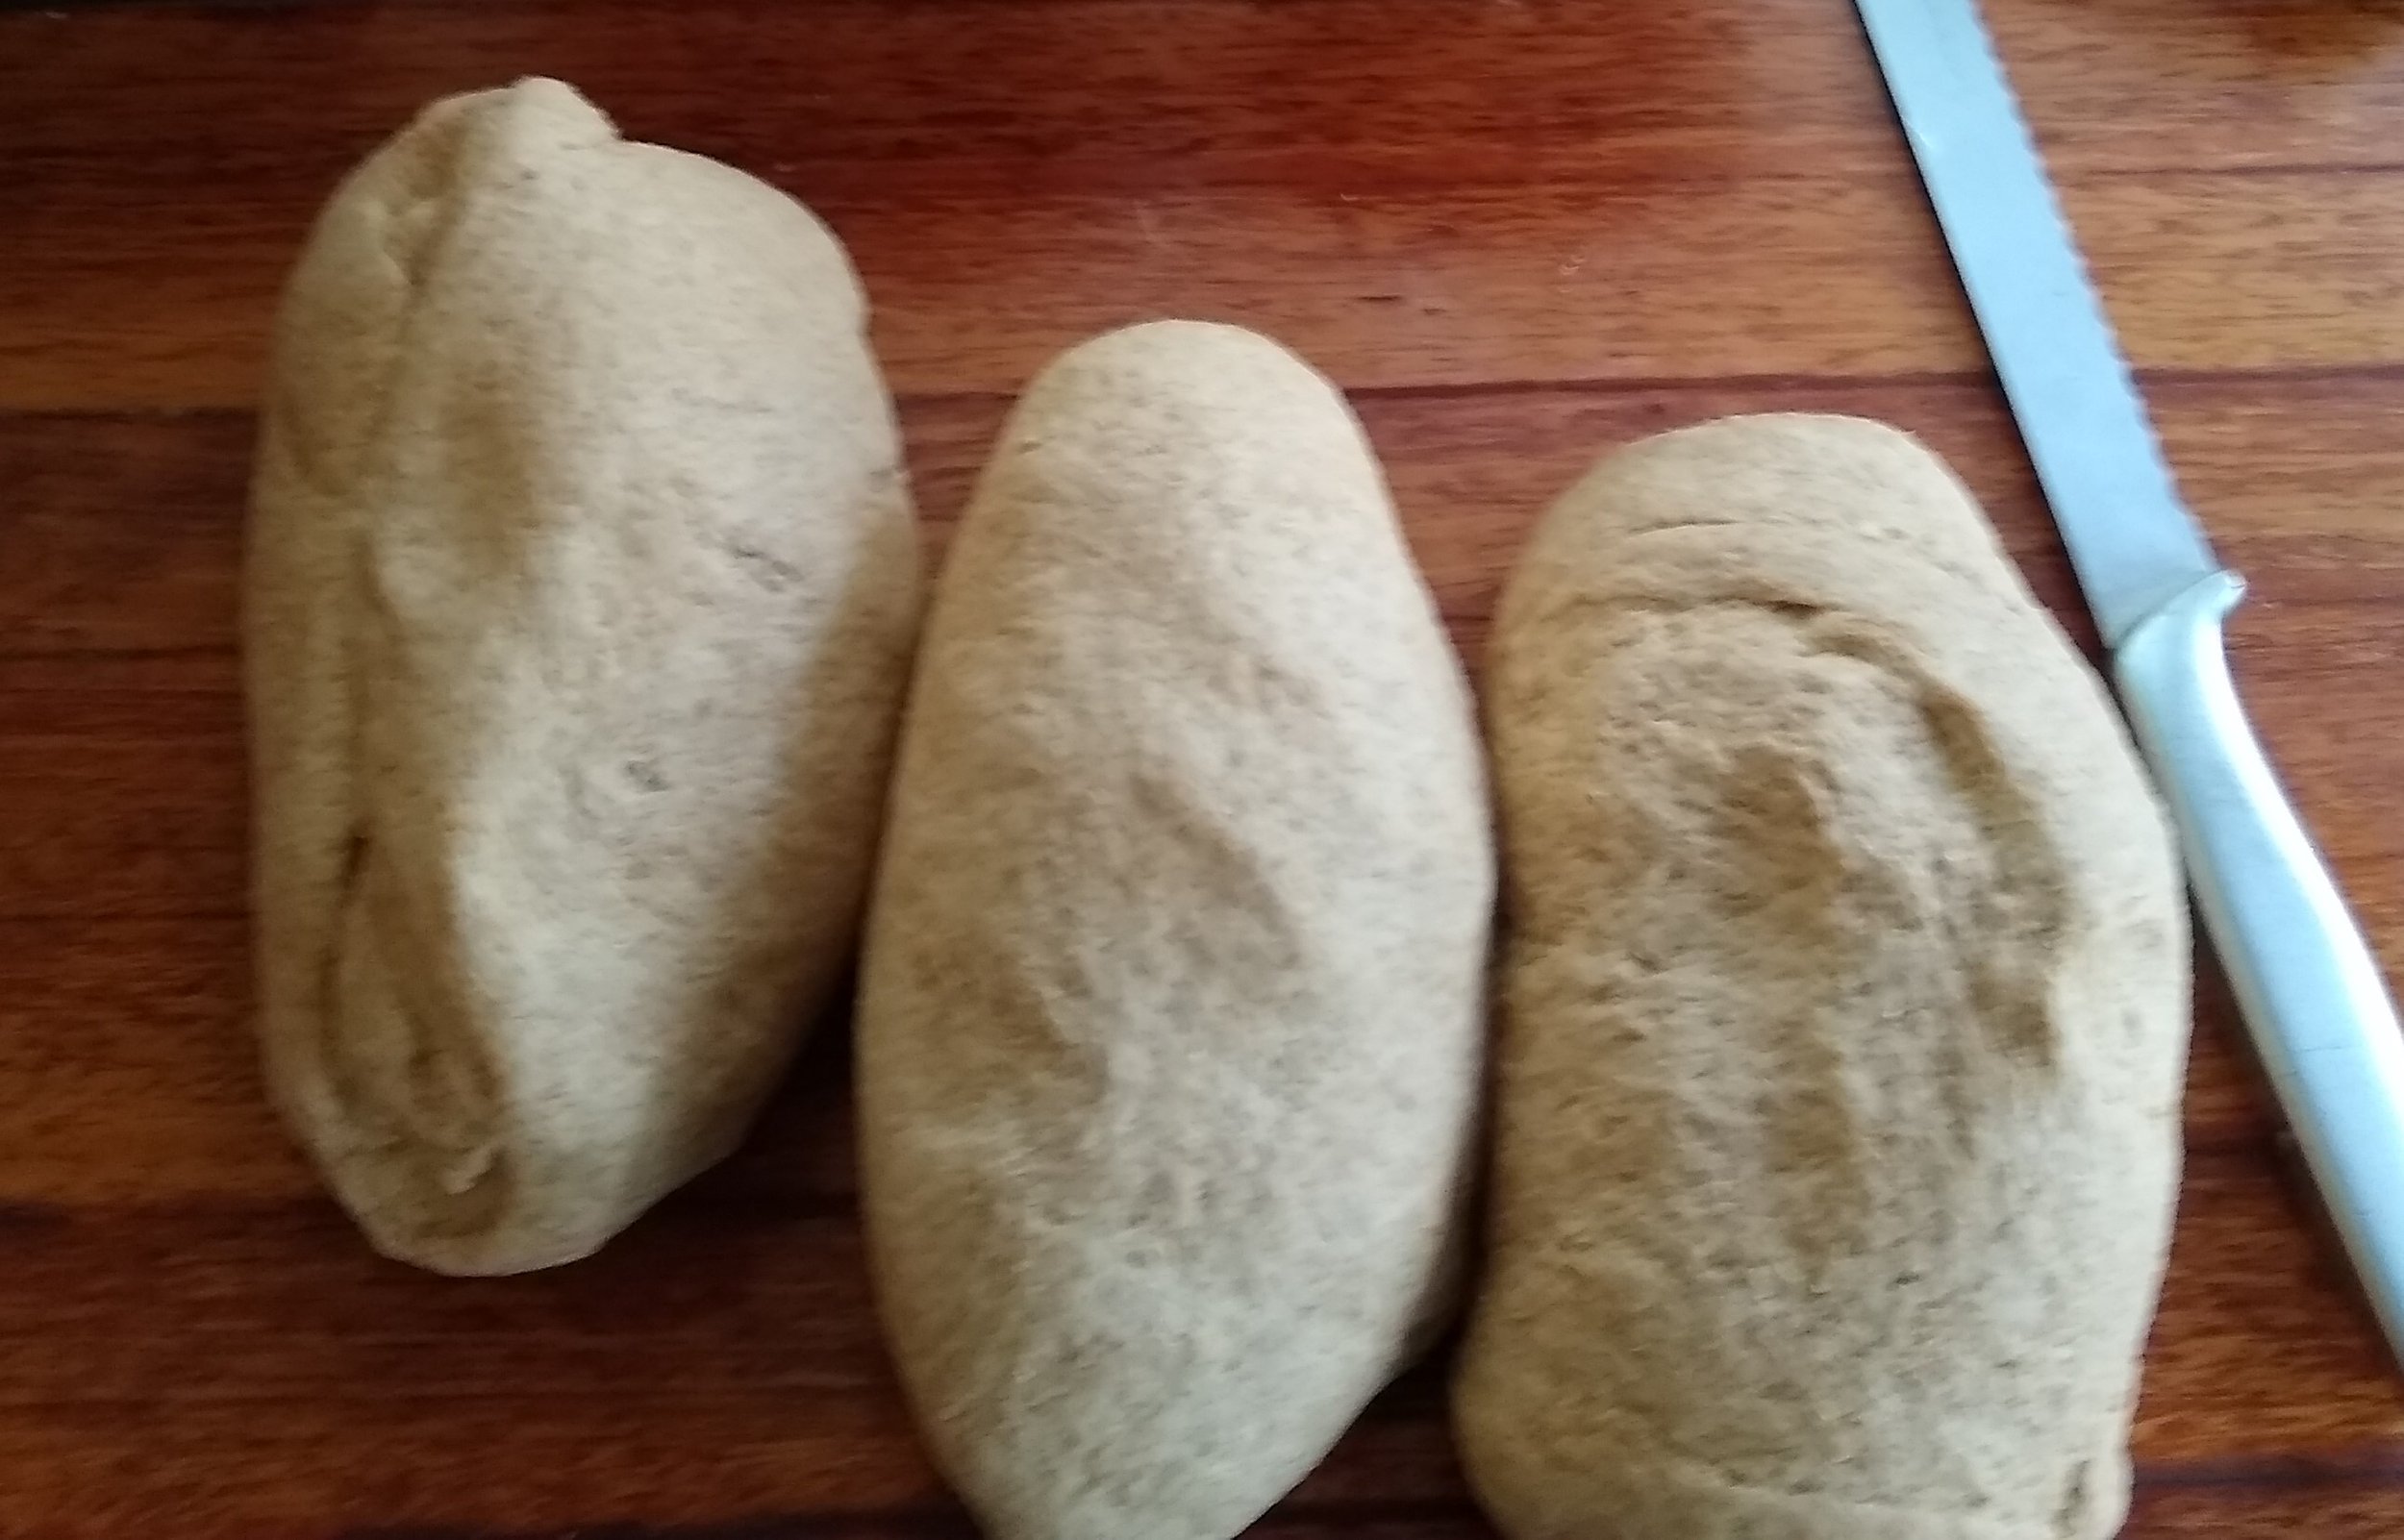
  10. Punch down and divide dough into 3 equal parts (a scale is helpful here).

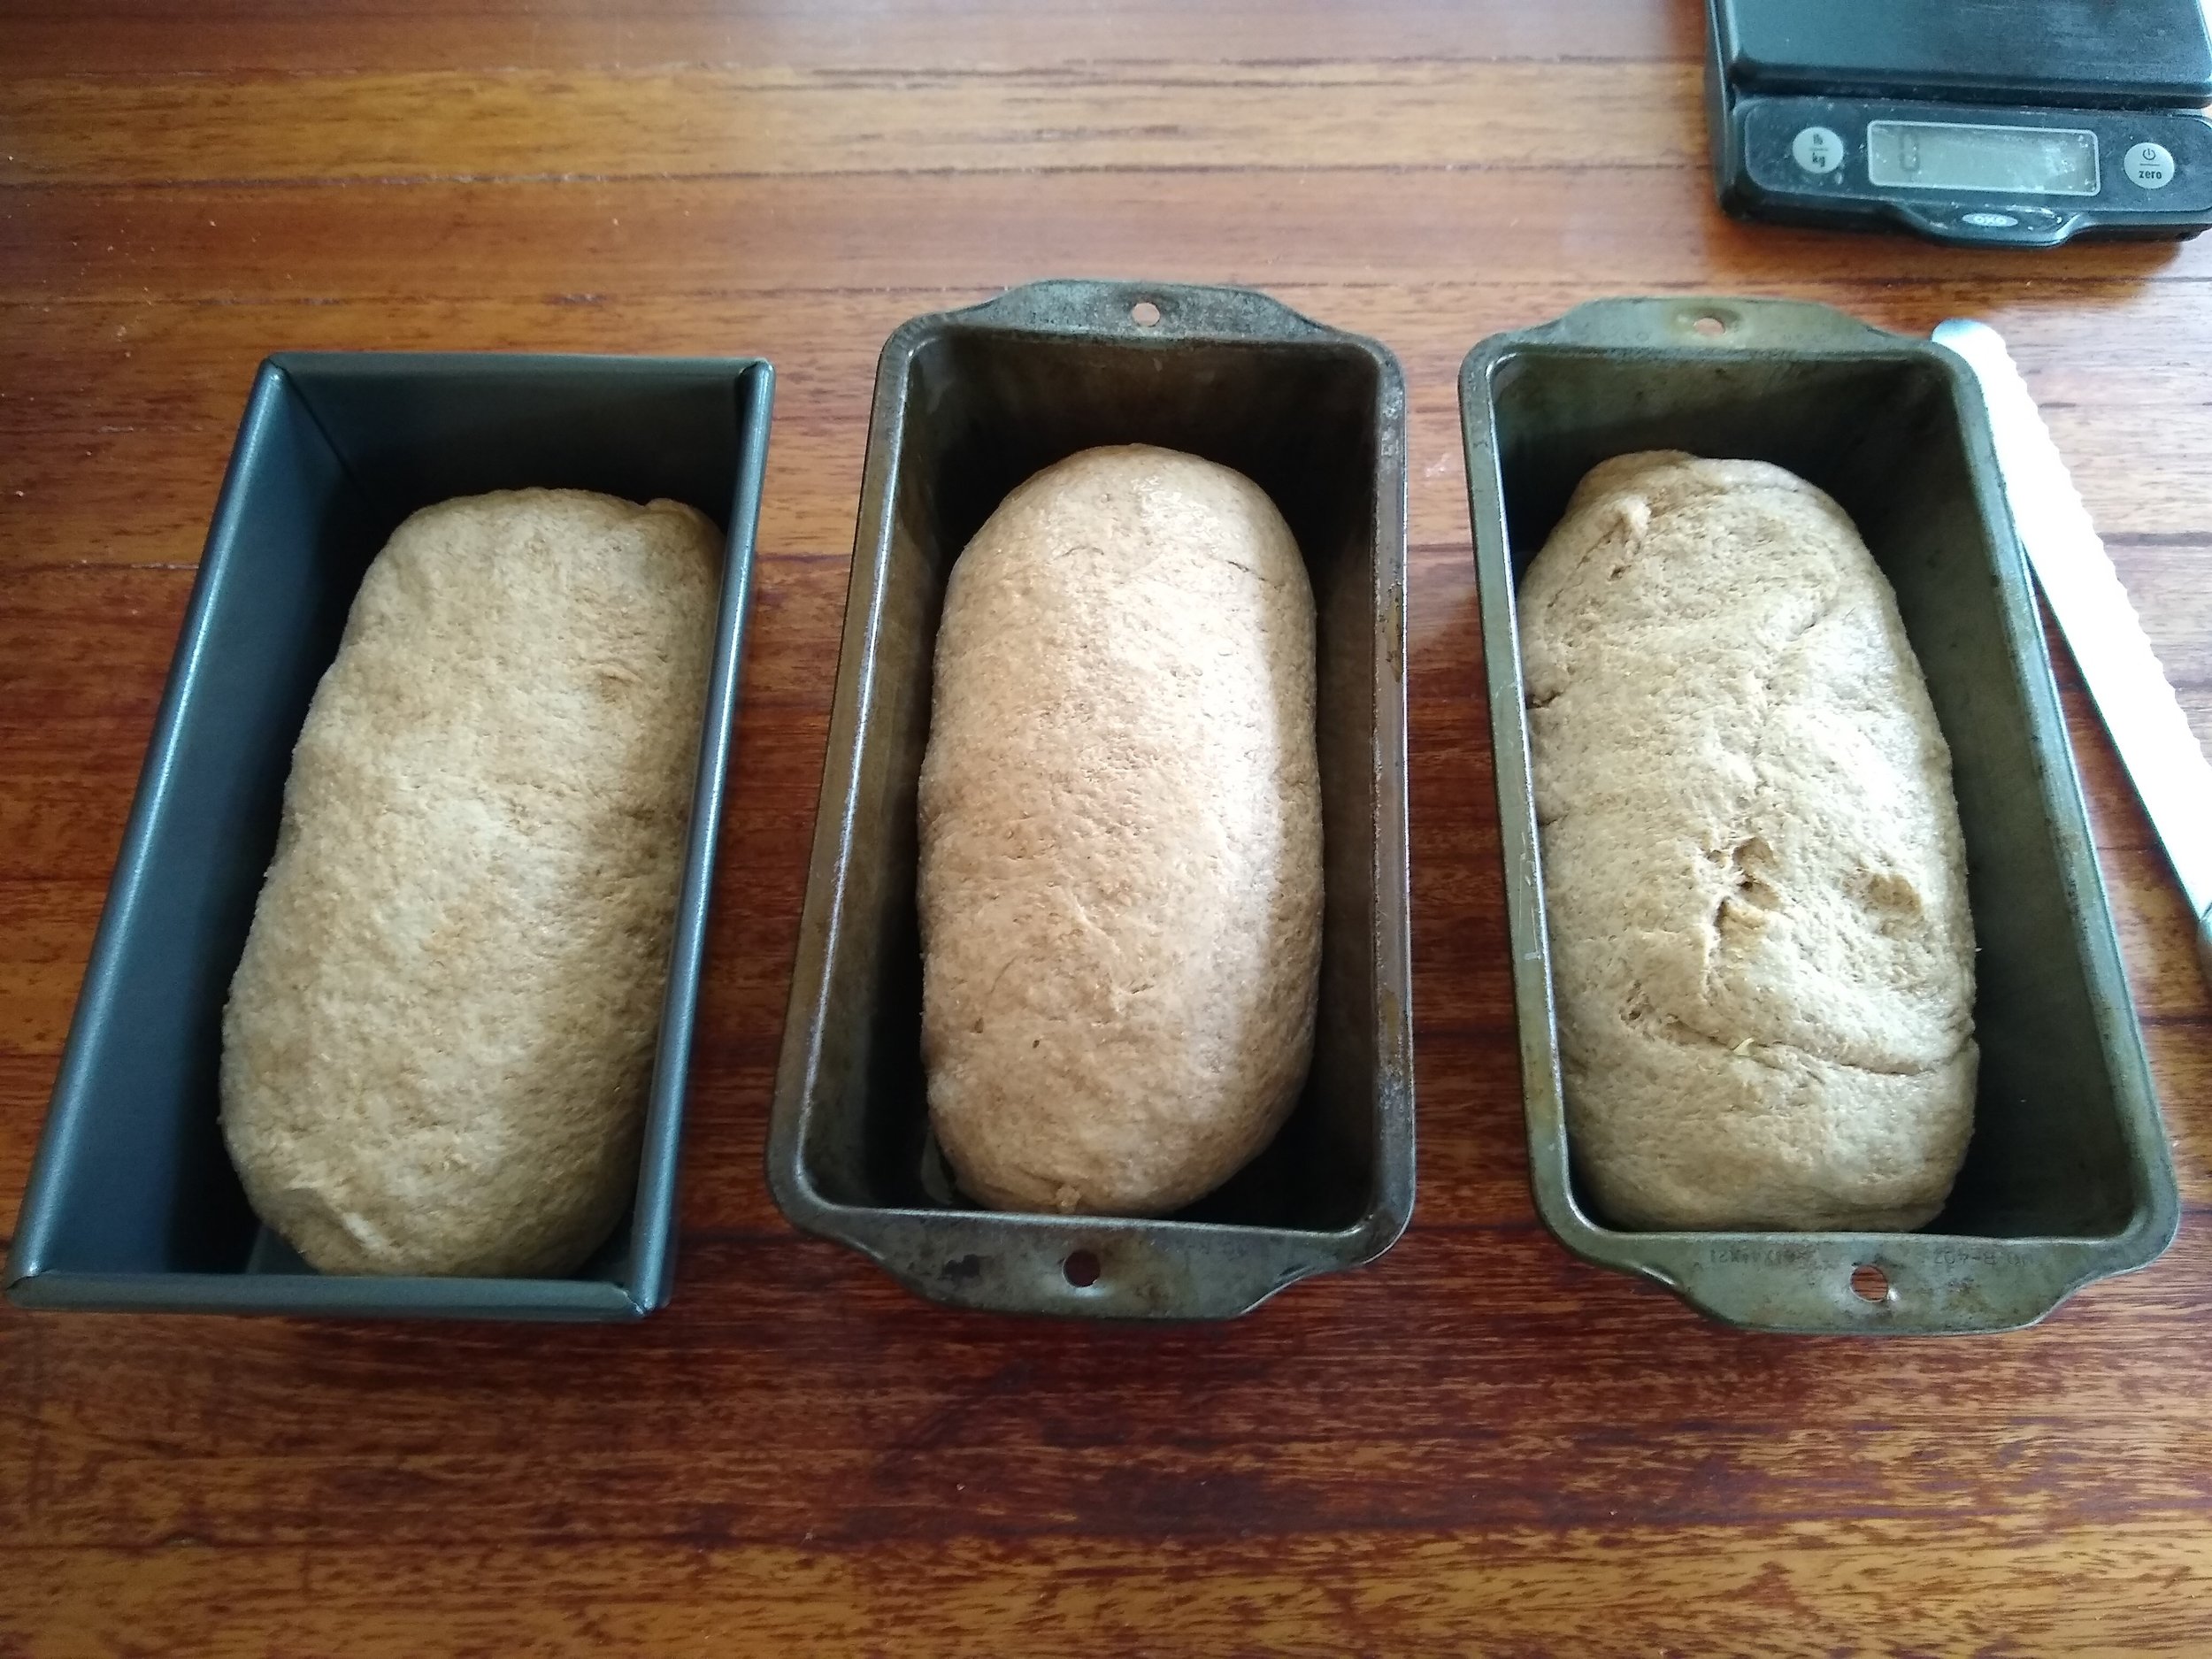
  11. Gently roll and stretch each loaf and fit in oiled bread pans.

  12. Cover and let rise 35-45 minutes until bread puffs up over top of pan.

  13. Preheat oven to 350 F. I add a baking pan on lowest rack to hold water for steam.

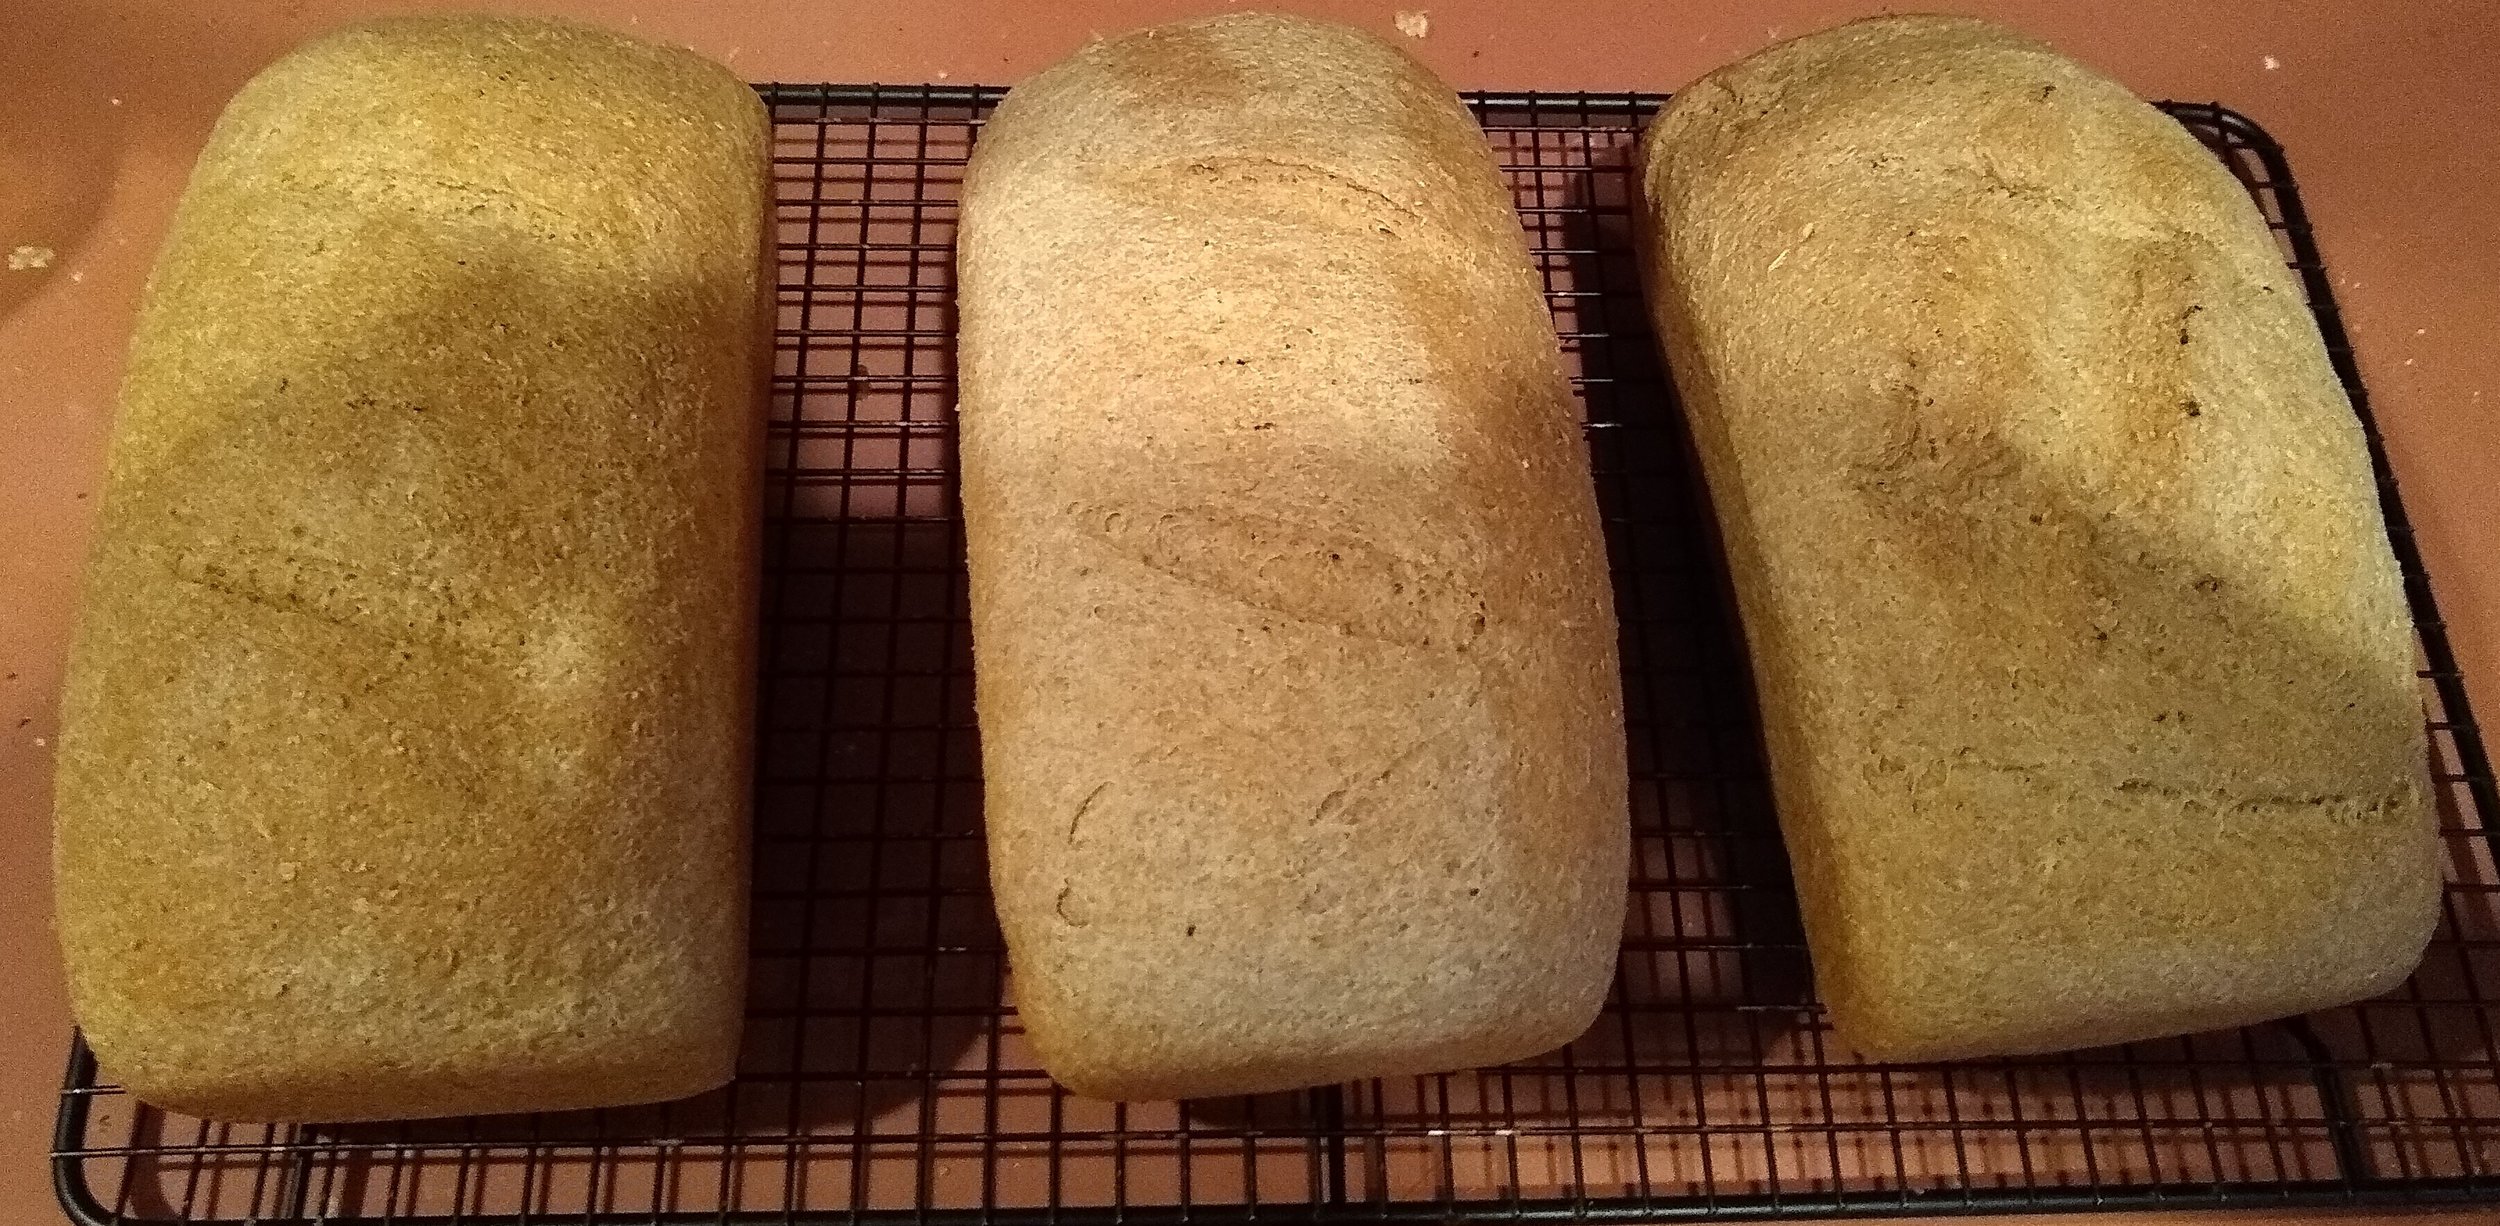
  14. Slash top of loaves with sharp knife and bake 50+/- minutes. Optionally, add 1-2 cups water to baking pan to create steam in oven. This creates a better crust. Bread will sound hollow when done.

  15. Turn loaves out onto rack to cool.

  16. Cut a thick slice of bread while still warm, slather with butter and enjoy.

Thank you Linda and David for sharing this yummy recipe with us!

Be sure to give this recipe a try and share your photos via email or tag @doublefranchmeatcsa on social.